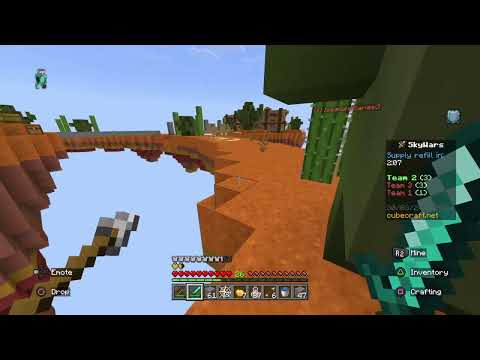
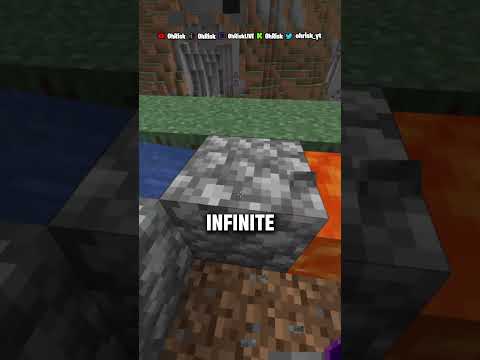
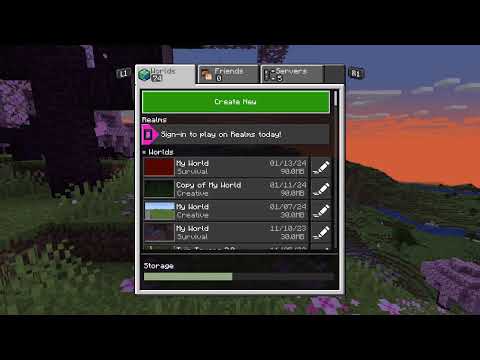
Hi my name is mike coleman i’m a developer advocate on the light sale team here at amazon web services and today i’m going to take you through a video that shows you some of the capabilities of amazon light sale but before we get started i just wanted To let you know that you don’t have to try to do everything at the same time that i’m doing it on the screen we’ve got a written guide in the description below that you can go and download and then after the video you can go try it all on your own so Let’s get started in this video we’re going to take a look at how you can install a minecraft server on your amazon light cell instance so we’re here on the lightsail homepage and we’re going to get started by clicking create instance from there we need to make a decision About where we want to run our minecraft server so i’m going to click here and i’m going to choose oregon now you’ll notice that we have regions all over the globe you should pick one that’s close to where you live next we’ll choose our operating system Scroll down and i’m going to click on ubuntu and that’s the operating system i’m going to use to install the minecraft server so from there the next decision is what size instance to use and we offer instances in a variety of sizes based on cpu ram disk size and network throughput for Minecraft i’m gonna go ahead and use this five dollar instance here so i’ll click on the five dollar instance and then we’ll scroll down and we’ll give our instance a name i’m just going to call it minecraft from there i click create instance and we’ll wait for that to boot up Now that the server’s up and running i’ll click the name and then i’m going to go into the networking tab because i need to adjust the firewall rules so we’ll scroll down we’ll click add rule and what we’re going to do is we’re going to open up a port for the Minecraft server so it uses two five five six five that’s the port that the minecraft client needs to connect to over the internet to reach the server so we have to open it up in the firewall so click create and that’s done so our instance is Basically ready now what we need to do is add the software so let’s connect to it using ssh and i’m going to use the apt command to update all the running packages as well as install the java runtime engine and something called screen the java runtime engine is necessary Because the minecraft server is written in java and so the engine will be what powers the application screen will allow us to keep that server running once we disconnect our ssh session so there we go let’s go ahead and go into screen and the first thing we’re going to do is Create a couple sub directories one for the minecraft server and then we’re going to go into that directory user slash game slash minecraft and we’re going to grab the binaries for the minecraft server off the minecraft website and now we’re gonna go ahead and try to Run it so we’ll use the java command pass in that mc server jar and see what happens okay we get an error that’s because we haven’t accepted the end user license agreement so let me go ahead and change the ownership on that file using the chone command Shown ubuntu.txt and then we’re going to go ahead and echo into that file eula equals true that way when the minecraft server starts up it’ll check that file it’ll see that we’ve accepted the eula and we can go on from there so let’s go ahead and ulid.txt and let’s start the server Up again using the java command line and passing in that jar file and it looks like everything’s loading up so let’s give this a second to finish all right the server is done i’m going to disconnect from the screen session i’m going to use control A and then d now if i type screen dash ls you can see the session is still there it’s still running it’s there at one four four one dot pts dash zero dash blah blah blah let’s go and reconnect to that session screen dash r1441 you can see it’s right where we Left it so so let’s go back to the home page let’s grab our ip address and move into the minecraft client we’ll do multiplayer here off the main menu and then we’re going to say add a server we’ll type in our ip address from the light cell server Click done and then we’re going to go ahead and join that server so click join server and give this a second and there you go we’ve successfully connected to the minecraft server running on a light cell instance all there is to do now is to go out and Create so once you go out fire up a light cell instance download minecraft and start having some fun Video Information
This video, titled ‘Amazon Lightsail Tutorial: Run your own Minecraft Server’, was uploaded by Amazon Web Services on 2020-08-31 23:38:32. It has garnered 14818 views and 198 likes. The duration of the video is 00:04:23 or 263 seconds.
Amazon Lightsail is the easiest way to get started on AWS. We have a number of tutorials to help you on your cloud journey. In this tutorial, you will learn how to set up a dedicated Minecraft server. You can also follow along the written tutorial.
Learn more about Amazon Lightsail at https://amzn.to/2YOod1G
Subscribe: More AWS videos http://bit.ly/2O3zS75 More AWS events videos http://bit.ly/316g9t4
#AWS #AWSDemo