Creating Minecraft Renders with Blockbench and Photoshop
In this video, Vini_jogaofc demonstrates how to create detailed Minecraft renders using Blockbench and Photoshop. The process is divided into three stages: creating the Skin model, setting up the scenery, and adjusting shadows and colors.

Creating the Skin Model
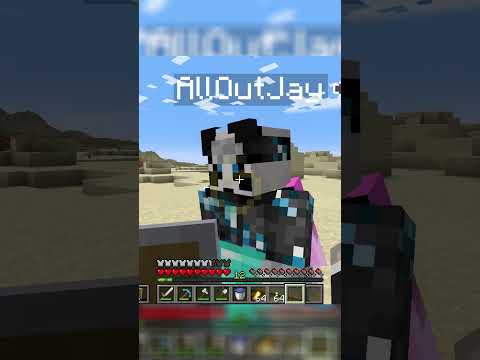
Vini_jogaofc starts by using Blockbench to create the Skin model. He explains how to import the Skin, adjust the texture, and pose the model to achieve the desired look. He emphasizes the importance of experimenting with different poses to find the perfect composition for the render.
Setting Up the Scenery
Next, Vini_jogaofc discusses the significance of choosing the right background image or scenery for the render. He demonstrates how to import a background image into Photoshop and adjust it to complement the Skin model. He also provides tips on finding suitable background images online.
Adjusting Shadows and Colors
Finally, Vini_jogaofc explains how to enhance the realism of the render by adjusting shadows and colors. He walks through the process of adding depth and dimension to the Skin model by manipulating lighting effects and applying selective color adjustments. Additionally, he shares techniques for creating a 3D effect and adding snowfall to the scene.
Throughout the video, Vini_jogaofc provides detailed instructions and tips for each stage of the rendering process. His modern and upbeat tone keeps the tutorial engaging and easy to follow.
By following Vini_jogaofc’s tutorial, Minecraft enthusiasts can learn how to create stunning renders using Blockbench and Photoshop, unlocking a new level of creativity in their Minecraft projects.
For more Minecraft tutorials and renders, be sure to check out Vini_jogaofc’s Instagram page here.