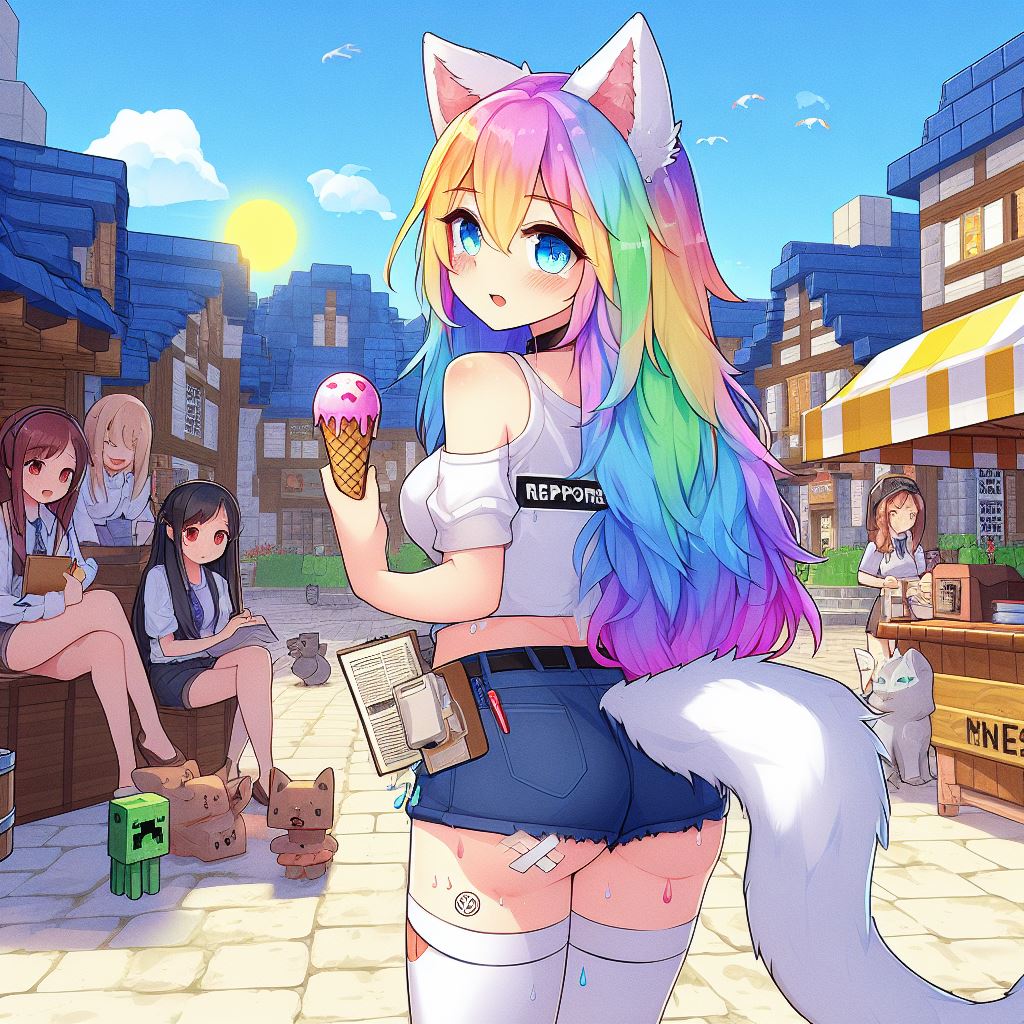
Well hello and welcome again to Minecraft dad with me P J now today we are building a car in Minecraft using only command hands um basis for this is a pig with lots of things attached to it um first all this idea on uh Channel called FedEx Gaming where he made a uh similar sort of car but what I found is obviously all those commands are 2 years old um so I’ve updated them for the latest version of Minecraft and changed a few cords here so here’s my pig I just uh brought him to with my Diamond sword sword there another cool thing I’ll show you to do so this is how we drive him get our our carrot on the stick Mount our car or Pig and drive around wherever you want to go sort of reminds me of like a mini armor personnel carrier not not quite a Tank as you can see it’s going around nicely um it’s got a radius of about 50 blocks before it will stop working um but uh you can extend out the area by uh cloning and copying all those command blocks when another another location if we get out the pig will stay uh completely Still even better if I get my diamond sword out in a moment you’ll instantly come to me so let’s go out a bit further and then come car pretty cool eh so without Ado let’s get into the video so first things first let’s go into our settings show Coordinates must be on also activate sheets and command blocks enabled so we need to give ourselves a command block first of all um order to do this following command the command pop screen so give a clear command underscore block enter it and you’ll be given a a command block on your invent tool Bar I’ll put the next command in which we’ll need to get rid of all the instructions and commands running on the screen it’s going to be a game rule Command right command block output FSE and usually where You’ got all your commands right in the left hand corner these will all now disappear So we need 27 individual tags and you need to name following so the first one’s going to be car cuz we’re building a car of course and then the 26 letters of the alphabet that’s the easiest thing that’s 26 characters long I don’t know you have a Pattern you can use really anything you want as long as they pay nicely together because these commands are going to be running in pairs so we need uh our first label which is car um we’re going to need to make a p so let’s get a spawn Pig egg out you Could always use a summon Pig command if you want to so just going to build ourselves a little pen to put our Pig in cuz we don’t want to moving around um let’s put our Pig in there jol little Fellow oh no we don’t want a pork chop got a saddle stick a saddle on it and now we’re going to name in car so get your tag out and car so very important cuz you’ll want to be able to write this thing later on so we don’t need this here Now so let’s get our Command Block out and place one down face it up and then go into it put the following command so for/ effect at ENT near plus car visibility one space one true this will make the pig invisible he’s not invisible yet because We need to set this to repeat and also always active now you can see thing’s gone now this is very important this is a little hack CU going to be right to get cound out 26 times so get coordinates for this block um if you start go top Change it to the Y axis four and then go into the command make sure it’s set to repeat and always active and write the following inside so for SL execute at NT name equals car brackets run SL teleport at MD facing uh another entity with three upwards brackets in the Middle so if we just want to copy this to another spot just go into command prompt and put the following command In Clone now the coat you top of your command block so in my case it’s 16 4506 we change that white to four and 164 56 again and then three after sets and square as you can see CL the block to that position and it’s got exactly the same Command in there as I said we’re going to be doing this 26 times and then changing uh a few aspects in each command block so I just want you to put um two pairs of command blocks there so four in effect but they’re going to be paid Together so it’s important you have them in an order uh which way you know they’re going to be paired together so we’re going to go into that first one this going to be our first set of wheels for/ exit and we changing uh one value to a One value to B and then in the brackets got 1 – 1.58 and then second one we’re going to be changing the first value to B the second value to a and then put minus one – 1.5.8 and let’s go back into into our chest we’re going to need a few things we’re going to need a and B and we also going to need an armor stand and we need uh something to place on our arm standand to represent the wheels so no I haven’t got a with hang in here so I’m just going to get myself one let go there’s my w and Skull so just go to anywhere put your two armor stands down make sure the arms are down and put the skulls on the heads and we’re going to get our first name tag a call one a and call the second one b and as you see can see they Just flow and attach themselves to that invisible Pig on each corner so we don’t need a and b now let’s just put these away so we’ll now need our C and D tags for the next pair of commands C and D so our second pair the first of the Second pair and then go into the command so C is going to be facing D and then the value is going to be 1 – 1.5 and -1 and then D is going to be facing C and the Val is going to be -1 – 1.5 and -1 let’s put our armor stands Down make sure the arms be in down again put the Skulls one C Leal 1 D and that’s also moved now to the other corner of the pig right so we going to need our second pair so we need e and e on our next pair also going to need a DI chest plate and a zombie Head now we’re going to use the Chone command from that block again and we got to make five different pairs of commands here 10 in total and then another section with three there two there two there three there and two there so we’ll go into the first of these Section and we going change uh e facing f with -7 -9 and -1 and for our second it’s going to be F facing e 7 -9 and -1 so we know the drill is get our arm stands [Applause] Out something slightly different this time so arms facing down arms facing down and let’s get out the chest pit one two and get our zombie heads no I realize we don’t need zombie heads I’m going to get a skeleton skun instead it’s little better one Two we’re going to need one e and one F and we’ve got the first of our size in the vehicle one caller let’s put those away and this the next pair which is G and H into this command we going to have course G facing H and m. 7 m n and one and this one we’re can to have H facing G 7-9 and one out stands arms down chest pit chest pit and get some [Applause] skulls one G and one One H wonderful and there’s the top bit there so we don’t need GH and put [Applause] way and then get [Applause] I and G on to our next [Applause] row I and a and then 7 -94 and the next one J facing I -. 7 -9 and4 arm stack stone arm Stone chest plit chest plit skull skull LEL one I LEL one J as you can see we’re going to be starting to fill all those sides in now I and J away now we want k L into the next row so K facing L 7 -9 and -4 and in that one lping kyus 7 minus four arm stand down arm stand down arms down chest plit chest Plit skull skull and 1 K 1 L those now position and the next pair of name tags M and n and into this last pair Here M placing n and it’s 7 -9 and zero and then this one incasing m- 7 -9 and zero of course again arm stands chest plate chest plate and of course skull skull then one m and then the other n so we’ve got our two sides Done so for this x one we’re going to need three so we’re going to need o p and also Q let’s go across to this row so we going to have o facing p and it’s 3 -9 and -1 then we want P facing o -.3 -9 and -1 and then thirdly we’re going to have q facing P then 0 -9 and -1 so it’s a little bit different this side so this time we put in three armor STS Down should the arms is down and we’re going to put a chest plate on on the first two and one on the third also But we going get with SKS away and now we need going need our zombie heads going put a zombie head on each of Those so one o one p you see that they thrill out the frontal re the car Q we are so we’ve got another bit of sticks out there so we can attach them to later on so we’re going back to PE now we’re going to need R and S so in there we’re going to have our facing S 3 -9 and -4 and and then this one s facing R -.3 -9 -.4 armor stand out armor stand out arm Street D chest pit D chest pit zombie head one named R One S as me see this go in another section in the middle and of course we’re going to need te and you let’s go into the third row T facing U 3 -9 and 7 and the next one you facing T minus. 3 minus .97 Stand Down stand down for simply all again but different values and then we got to put our chest picks on again and know what’s next zombie head zombie head need one t and we next with You now as you can see we’ve created a little Gap in the middle so that’s where our seat is on our Pig and get our V and our W now I haven’t got three tags out because we could going to be coming to the one later so V and w.3 – 1 1.2 and then our W facing V -.3 -1 and 1.2 and this third one is going to be a z so we’ll do that last we now need to go the pair at the Bottom so let’s get our arm stands out down down chest plate chest plate zombie head Zombie Head then one V and need one W and we now need our x and our y actually we need a Wither scale again not a zombie head so is going to be X facing y -. 7 -1 and 1.4 and the last one there W is X7 7 – 1 and then 1.4 so let put our arm St Down chest plate chest plate skel to skull skeleton skull X and Y and up with the at the front of the car in a slightly lower position and our finally we’re going to do our Z let Z and Z Bing V with Note Min -7 and 1.2 um just the one arm stand D chest pit on I’m going see there we go seem now we play so we’re going to be attaching something to Z later on in the build so that’s all the Commands for the car done we just need to customize it a bit now now uh these name tags are now redundant and all the commands the car done so let’s get these all out of our ventry and back into our test now we’re also going to need um some leather Tunics we’re going to need four of Them we’re also going to need a cauldron and also a bucket of water get your cauldron out pi two of them um we’re going to put water aled each of them and we’re going to get some dye red and yellow of course just d one lot Red one lot yellow and we’re going to Dy these two Nicks as well so we’re got to do two red and two yellow so we have our yellow tunic just going to go to the front of the car where’s where we’ve got X and Y we’re going to Try and change them so x one and Y oh don’t move it should have been this hand smaller we don’t move around so much there we go and we’re just going to go to the back and do the same with red if it stops bloody moving right one on F we have on E uh we just need a Shield there it is we’re going to get our shield and we’re going to put it on Z there we go let’s get our fish our carrot on a stick and a diamond sword so we’re going to do a new set of commands here now so do place a command here and put the following command in test for that player it’s a hasatan command so it’s Searching for a carrot on a stick at the location which is the uh your weapon hand slot so this will test if you’re holding a carrot on a stick in Your Weapon hat so make sure this goes down exactly correctly and we’re going to put that into a comparator so let’s change that To always active so when we’ve got a carrot on a stick our comparator comes on and when it’s not in our hands it’s off as you can see it’s connected up to that red SL torch there which is going to activate a second circuit so so when that’s off it’s activating This secondary circuit here which makes the car stop or pick up move for so it’s going to be an exec en command VI your car and at that going to run in a another en car with some up slashes and that will point two at the end well that’s going to tell the Car2 uh blocks that way then we go the same command with minus Point uh 0.2 so it’s going to be teleporting the car back and for really really really really quickly 0.2 blocks so it can’t move anywhere so I’m just going to activate uh I’m just going to complete The C put the rest on there so now if we look at the car now it sto moving looks like as having a bit of a bit of a fit but it’s it’s now fix to that spot it can’t move anywhere else unless we get our car and a stick Out and it’ll start moving then going put it away and now we still again can’t go anywhere so let’s take in for a ride let’s get rid of this things first of all let’s get our car let’s M him let’s get our C the stick and now we’ll start Moving so we can now go any direction that we want we can now go any direction that we want driving around and if we get out of the car it will then stop oh we don’t want to go That cool does drive over things you can go over different terrain I suppose that’s the benefit of using a pig rather than any anyone like a horse or anything that let’s get out as you can see car stops once that’s away now if I get my diamond sort Out car comes straight to me we’ve got a separate set of commands uh doing that which I’ll show you in a moment you could that is really really cool so we’re only going to need two command blocks in this fin section so this is going to be another test port Command on always active and instead of using a c stick is going to be detecting a diamond sword in your main weapon hat let’s run into that Comparator make sure that’s always set to always Active so when we get our di sword out it should switch that comparator on and then this impulse block here see and now the impulse command is a Teleport new car app player so it just instantly teleports uh your car to you wherever you are and ay this is it’ll Work for any distance as long as those commands are in proximity so if you want to go somewhere else in this world you’ll need to clone those commands um within a 50 block radius of your car so if you want to do this easiest Way to do it is um to get a structure block essentially um clone command only works over a certain distance so let’s give ourselves a structure block which is structure and block so give app player structure under underscore block and let’s place our structure block here so you can see those four That those uh axes there and grid so we want to adjust these values inside the block so it covers the whole section of the command blocks um we don’t want our peg in the middle of this because it also copies entities we don’t want anything muing this up so he come over Here and Stay so let’s go back into our structure block here make sure that’s set to save so we’re just going to change uh the X Y and the Zed actually on here so oh no we don’t so let’s change X to 13 go back out yeah covers that area on the x- Axis and let’s change the second value to 15 yeah just kind of that we chinger y to three me save that what whatever struct you want to call it so we’ll just call it car and let go to a different area of our world to see if this Works so I’m just going to go as far as way as I possibly can this will do nicely so let’s put our structure boock down put that to load and put whatever your D structure in this case I take the car load my command box together going to Get my diamond sword and my car has instantly come to me from the other end of the world and we can just get back in the raid it Road within 50 blocks okay I come back here right so uh that’s it for now on this video If You uh like what you saw pick the like button and also subscribe and I shall see you again on the next video ciao for Now Video Information
This video, titled ‘How to build a WORKING CAR in Minecraft – Tutorial – [Updated] Bedrock Edition 1.20.51’, was uploaded by PaulmcJ on 2023-12-15 00:34:04. It has garnered 202 views and 1 likes. The duration of the video is 00:30:52 or 1852 seconds.
How to build a working car in Minecraft using commands. No MODS. Full Tutorial, using commands and command blocks.
Enjoy, like and subscribe.
Minecraft Dad