Minecraft Sun in Photoshop Tutorial
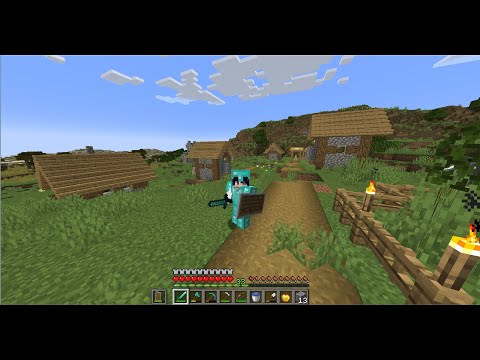
Vinicius, a Minecraft enthusiast, has created a tutorial on how to recreate the iconic sun from the game using Photoshop. In this step-by-step guide, he demonstrates how to design the sun and add it to a thumbnail for a YouTube video.

Creating the Sun
Vinicius starts by creating a new file in Photoshop with a black background. He then uses the rectangle tool to draw a yellow square, representing the sun. After adjusting the size and position, he adds a lighter yellow layer in the center and a lighter border around the edges to give the sun a glowing effect.
Adding the Sunlight
To complete the sun, Vinicius adds a layer of sunlight using a yellow-orange tone. He adjusts the blending mode to create a realistic shine, making the sun look radiant and true to the Minecraft aesthetic.
Reusing the Sun
To reuse the sun in future designs, Vinicius groups all the layers together and exports the image as a PNG file. This allows him to easily add the sun to other thumbnails or designs without having to recreate it from scratch.
Conclusion
Vinicius wraps up the tutorial by showing how to rotate and position the sun in a thumbnail. He also hints at the possibility of creating a tutorial for the Minecraft moon if the video receives a lot of likes.
In conclusion, Vinicius’ tutorial provides a simple and effective way to recreate the Minecraft sun in Photoshop, making it a valuable resource for Minecraft content creators and fans.
For more Minecraft tutorials and content, be sure to check out Vinicius’ YouTube channel and social media platforms.

Remember to like and subscribe if you found this tutorial helpful, and stay tuned for more exciting Minecraft content!


![[⭐] FreedomCraft | City Roleplay | Business Ownership | Political Careers | Custom Map](https://newsminecraft.com/wp-content/uploads/2024/05/FreedomCraft-City-Roleplay-Business-Ownership-Political.gif)