Customize Your Minecraft Model with Yes Steve Model Tutorial
Are you tired of the limited models available in Yes Steve Model for Minecraft? Do you want to create your own custom model but don’t have the time to start from scratch? Look no further! This tutorial will guide you through the easiest and fastest way to customize the default model without the need for complex animations. Let’s dive in!

Importing and Exporting Models
Before you begin customizing your model, make sure you have the default model file for Yes Steve Model. Navigate to your .minecraft folder, then locate the Yes Steve Model configuration folder. Inside the ‘custom’ folder, you’ll find the default model file named ‘main.json’. Copy this file and paste it into your working directory.
Making the Main.json File
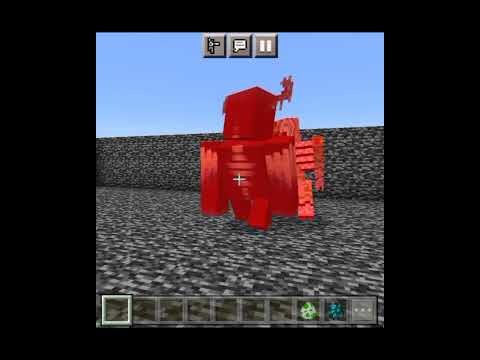
Open Blockbench and import the default model file ‘main.json’. Remove any unnecessary elements to create a clean canvas for customization. You can easily modify the model based on your preferences, whether it’s inspired by an old skin or a completely new design. Once you’re satisfied with the changes, save the project and export it as ‘main.json’ in a designated folder.
Making the Arm.json File
To create the arm file, open the exported ‘main.json’ file in a text editor. Copy the arm components and save them as ‘arm.json’. This step ensures that your custom model includes the necessary arm animations for a seamless gameplay experience.
Adding Textures and Animations
Don’t forget to gather the required texture files for your custom model. Additionally, include the ‘main.animation.json’ file to enable animations for your character. You can easily find the default model animations in the Yes Steve Model configuration folder. Copy the animation file and place it in the designated folder for your custom model.
Stay tuned for the next video tutorial, where we’ll delve into adding textures to your custom model for a complete and personalized Minecraft experience. Like and subscribe if you found this tutorial helpful!