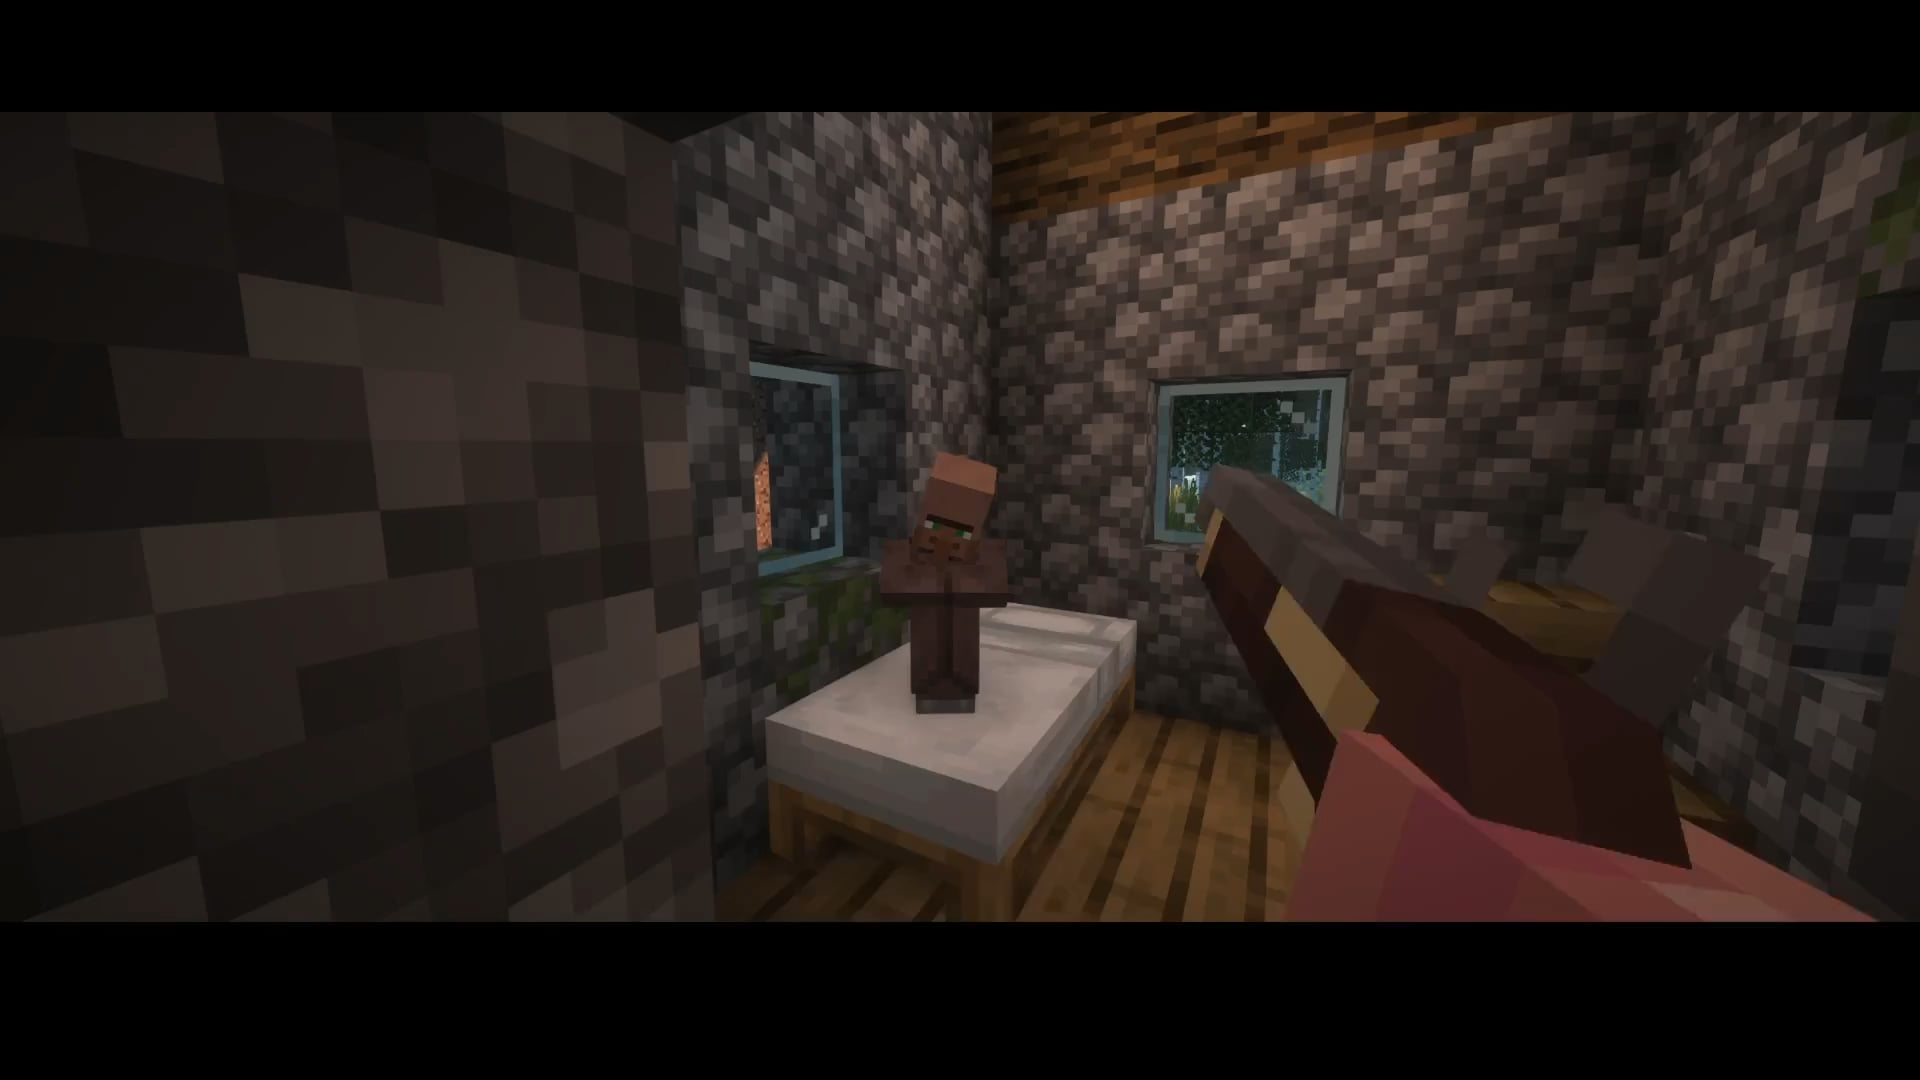
hello everyone so in this tutorial I’m going to be showing you guys how you can add enchanted weapons to your renders in blender 4.0 so first thing just like the first tutorial we’re going to have our base set up and everything else we’re going to append the rig or the model we want so in this case I’ll be using my female rig for this video and I’m going to just add some a skin because pretty much so we can just make the render look a bit cooler in my opinion again this is already something I showed in a previous video so I’m just going to might as well adjust the the skin for now so here we go I want my character to look something like this yeah okay that looks nice so what we’re going to want to do here is first of all you have to make sure you already have an enchanted weapon uh with you because if you don’t then well you’re going to just might as well want to use a normal sword with an enchanted enchantment effect so once we have our character model don’t do the posing yet first import the um the import the weapon or the enchanted thing that you want so in this case I’m going to open my Armory and I have all these I’m just going to choose these from one of these three so let’s say I want my character to hold this Katana sorts so so I’m just going to drag it here we’re going to take these two out by clicking X so we have her Katana right so the first thing we’re going to want to do is make sure that this is actually actually pointing and is in a position where my character looks like um looks like holding the weapon so in this case I’m going to put 90 to be specific as possible and there so we’re going to want to drag it to where we want our character’s hand to hold it so in this case if I want uh my character to be holding the weapon we’re going to put it over here like about here I may as well shrink it slightly going to put it here so as you can see it’s already placed in in a hand and what we’re going to want to do from here is going to first select the rig then we’re going to go into pose mode so we have and we’re going to select the arm we’re going to hold down shift select the sword and then shift select the arm and then what we’re going to want to do from here is go into object mode we’re going to left C right click and then we’re going to parent bone relative so as you can see right here it doesn’t look like anything happened but if I go back to edit mode press the rotating tool tool we have our our weapon or Enchanted object attached to the to the to the character which is pretty cool and again so from there we can actually begin the posing now that we have our model and if you want to say Hey how do you move the how do you move the weapon around well you just have to go to object mode and you can click the rotating tool and after after that oh jeez okay after that you can still move it around in that position so but I’m just going to leave it back to how it was so I’m just going to let’s say I want my character to be like holding the sword so let’s say I just want my um my character to be like showing off the sword and that kind of stuff okay I I need to think of a pose so maybe maybe her holding it up would be a good idea yeah pretty much so I’m just going to adjust the posing here so just going to adjust the posing here because again this is just stuff I already I already showed in the first tutorial I made so we’re going to adjust it and let’s make my character look kind of overpowered in a way okay there just going to make my character so there it looks pretty good in my opinion again this is a simple pose because I don’t want this to be such a complex tutorial again it’s just for rendering um rendering enchant um making renders with enchanted weapons so what we’re going to do is like make our character I guess a bit like Angry something like a serious going just do this so yeah using all the tools we’re going to make um pose adjustments going to move it slightly down so I think it looks pretty much okay from here think I I think the open mouth needs to be adjusted yeah I think that’s okay so we have our pose already done and from there we’re able to um basically do what we wanted in the original tutorial we’re able to move our character around so in this case I’m going to um so that the sword is able to appear I’m actually let me see okay so I think it’s best that I move the camera to the position I want but basically what you have to do is you have to make sure you have an enchanted weapon again if you know how to do weapon designing and you have experience with blender and know how to do um cool VFX effects for example um here as you can see my sword is actually has like an enchantment effect when the animation plays so it’s pretty cool so so we have our sword I think I just may do some final touches because again um I like when when many of my my renders have a few adjustments I think it’s that’s pretty much it so let’s see how that looks okay it looks pretty good so I’m not going to I’m not going to move my camera in a different angle per se maybe maybe slight oh jeez that was the camera maybe slightly here slightly um to the Y but I don’t like want to move it here because it’s it’s this the character is looking straight at you so so maybe okay I guess yeah it just won’t look good so we have our character already set up here and now might as well do some final adjustments with the lighting so I’m going to make it maybe give give it a yeah I’ll just go with the traditional blue I always use this in blenders renders so over here we have ourselves yeah pretty sweet looking render so one thing that I I’m going I don’t think I said in the last video is ADD um some World light to it so in case I think it would be a bit more cool beans if I were to add some at least like some World light around so the render can actually like probably have like a bit more to it and that way um this character’s clothes doesn’t blend in with the background super easily as you can see right here it looks pretty sweet I I think I might as well just maybe do some adjustments I think I’ll go for a purplish look I think a purplish look looks way goes way better with this render yeah just not too purple so we don’t so we aren’t able to like see our character too well so I’m just going to make some adjustments yeah I think it looks pretty good like that so I’m going to first of all save it save the file and now we can begin the rendering just like in the last video um I’m going to speed up the process oh wait oops whoops Daisy I forgot to mention mention that make sure that the camera is actually focusing our the the target specifically so I think slightly over here should work no it doesn’t seem to work well that’s weird look actually looks okay from this angle I don’t know why it’s not uh working okay from here it looks good so I’ll just speed up the video all right so we have a render done as as you can see everything looks good the VFX looks nice um the glow punches really well and pretty much that’s how you guys make renders with enchanted weapons like again what you really need to do is have a weapon design first of all and make it into a 3D model I’ll leave a a video in the description regarding how you can make your pixel art into 3D models and blender and hopefully I can release some of this enchantments so you guys can and probably make cool renders but that’s pretty much for today’s video I hope you guys enjoyed and hope this helped thank you Video Information
This video, titled ‘Blender Minecraft Tutorial (How to add MC weapons in renders)’, was uploaded by FrostFire Creations on 2024-06-09 01:26:51. It has garnered 44 views and 6 likes. The duration of the video is 00:10:09 or 609 seconds.
Softwares used: Blender