How to Install Mods in Minecraft
Mods are a popular way to enhance the Minecraft experience. They are simple modifications that can change the game in various ways. If you’re new to mods and want to know how to install them, here’s a step-by-step guide to get you started.

Choosing a Client
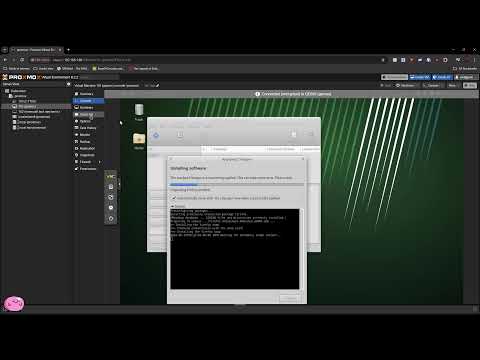
Before you can install mods, you’ll need a client. Two popular options are Curswatch and Optifine. In this guide, we’ll focus on Curswatch. You can download the Curswatch client from their website for Mac, Windows, or Linux.
Creating a Custom Profile
Once you have Curswatch installed, open the client and create a new user-defined profile. This profile will be your modpack, where you can install and manage your mods. You can choose the Minecraft version, gameplay style, and the type of mods you want to use.
Adding Mods to Your Profile
After creating your custom profile, you can start adding mods to it. Click on “More Content” and select the mods you want to install. Once you’ve added the mods, simply click “Install” and then “Play” to launch Minecraft with your new mods.
Using Mods in Minecraft
Once you’ve launched Minecraft with your modded profile, you can start a new world or join an existing one. You’ll notice the changes made by the mods, such as new items, maps, or gameplay mechanics. Enjoy exploring the new possibilities that mods bring to the game!
That’s it! You’ve successfully installed mods in Minecraft. Stay tuned for the next video, where you can learn about popular mods and how to use them. If you found this guide helpful, feel free to leave a like or subscribe for more Minecraft content. Happy modding!