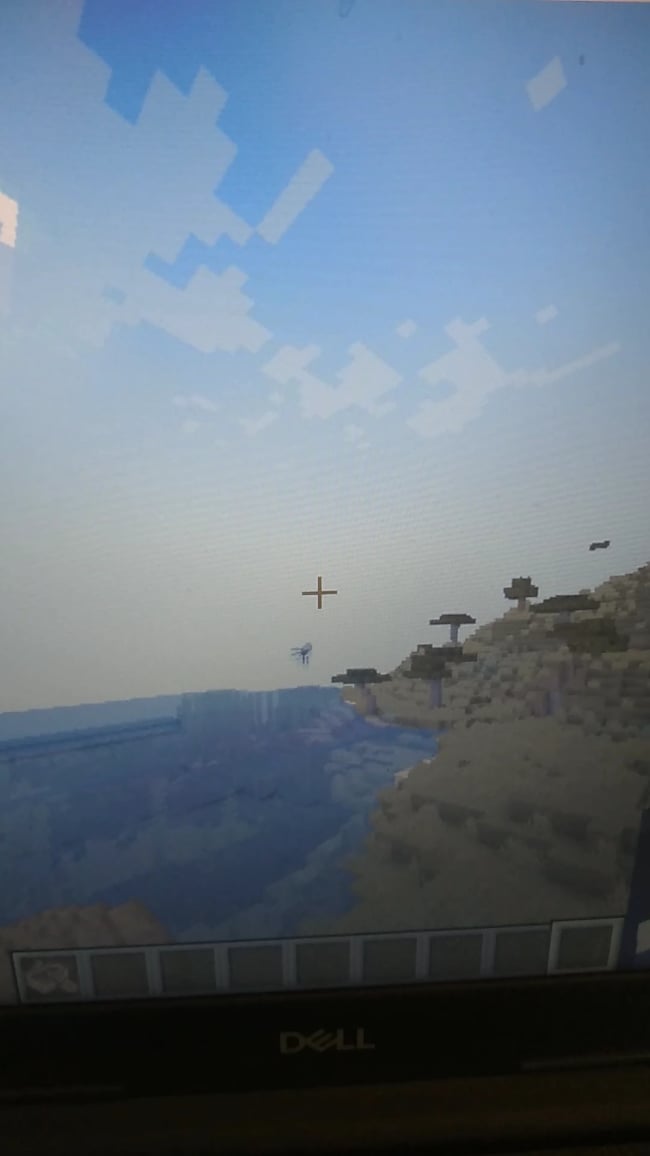
Everyone and welcome back to the breakdown today i’ll be showing you how to use light mattica slash schematica to let’s say export something from a minecraft server like medieval northvale on planarbreakdowncraft.com into your single player world this is also going to be an in-depth like look at all the Features of like mataka so yeah just buckle up it’s going to be an awesome video so let’s go ahead and jump on into it first and foremost we need to get like mata i have an in-depth guide on this in the description down below it’s the second link down below it’s going to Walk you through everything here however i do want to mention that this is not something we’re going to go in depth with in this video basically i’m going to kind of go through the motions on the screen here fast and a lot of the troubleshooting and things like that That i would normally do is going to be found in that tutorial in the description right so nonetheless go through that tutorial that’s going to be the best way to get all the information but as you can see lightmatic is downloading you’ll also need molly lib By the way which is a library mod for lightmataka that’s also linked in the description down below if you want to go through that and get it that way and just kind of follow along as i’m quickly doing this but again there are troubleshooting issues that i’m not Going to be mentioning here it’s just plain and simple that’s what it is fabric mod loader is required for lightmatica and this is our in-depth guide on how to get that basically get the fabric mod loader then go through like matica’s tutorial and it’s pretty simple we are downloading the jar of This which means you may need java and you may need to run the jar fix these are linked in the description but if you have any issues like opening up the fabric launcher or if your files don’t look like jar files these two will fix that install java then run the jar fix Nevertheless though with those downloaded you need to grab them from my downloads folder and we’re going to install the fabric and launcher very quickly here so or right click on that open with again if you have any issues in this step you want to go get java and Go through all that nevertheless 1.18 is selected that’s the current most recent version but this will be true for older versions and newer versions of likmatica as well now we need to get these mods installed that means opening up the run app typing in percent app data percent Sign like so going into dot minecraft and then creating a mods folder if you don’t have one which i don’t then drag and drop these in there there we go this is the fast track again so much stuff is skipped here if you want to install like matica go Through the different go through our tutorials they’re going to be much much more in depth go through potential issues and all that stuff but once you’re here ignore the right at the bottom once you’re here go ahead and click on make sure the fabric loader is selected click play click play again and Now minecraft’s opening up with lightmatica i’m gonna go ahead and do a quick jump cut to the minecraft main menu where we can get this really going so with that hard jump cut here we are in game like i said we’re gonna be using a medieval north fail for this today so We’re gonna log right on into breakdown craft we’re already on medieval north vale and i’m gonna go ahead and do home home or sorry home bet is that what it is or do i don’t have a home on medieval north though with this account if not That is fine i’m just going to a randomly rtp and i will show you how to basically do a random area so one quick second let me find something that we can actually use schematica on you can use it on anything by the way but i want to Find something like a building or something and then we’ll be good to go all right so here we are i want to export like this house for example with schematica now what we want to do is turn off the featherboard first you don’t have to do that but i’m going to Do it so it’s easier to see in game then we want to run the slash kit claim command which i’ve already ran to get a claim stick here a claim stick is what you’re going to be able to use to make selections right so if you look in the Bottom left there we have like all of this stuff that’s popped up now it’s below the chat there we go all this stuff and if you want to change what you’re doing you can press control and scroll so as you can see we have schematic placement edit schematic and Area selection is all we have right now depending on what you’re doing with schematica you unlock more modes but we want to be on area selection then we want to go ahead and basically right click the first block that we want to export so right here we’re going to Right click that that’s going to be our first block as you can see it’s kind of assumed you’re going to want to export this area but that’s the first block right there then we want to come over to the other side here and we’re going to select another block Now we can’t select this entire thing right away it’s just not working right we can’t get that if we select that it won’t have this but once you’ve kind of made your selection you can come over this right and by the way if you can’t Fly what you could do is come down here right like so right so come down here and then you want to go ahead and use alt and scroll wheel so if we press alt and scroll wheel we’ll be able to extend that with the claim stick so alt i got Various selection there so we want to make sure on area selection press alt scroll wheel and as you can see we can extend that up however many blocks we need until now we are covering this entire house and by the way you can do this on on both sides so let’s say we Wanted to go ahead and expand this you know out to be able to take in this other house we can do that we can press alt and oh sorry alt and move this out to grab that house right we don’t want to do that we just want to grab this one So there we go we’ve got our selection made and again select the area selection in the bottom left click on two corners and then use alt and scroll wheel to move things around right like so once you’ve got your selection right like this we can go ahead and create a Schematic with it to do this you want to go ahead and press m this is going to bring up your schematica menu right this is basically all the different configurations that you can do with inside com or inside of schematica in order to both export create do all that Stuff with schematics so what we want to do is go ahead and click on area selection browser and then we want to go ahead and create new selection you can name this whatever you want i’m going to name this just house because well it’s a House then go ahead and click ok now we have this new house right like so you can come in here and configure different things if you would like for example you can do new sub regions and all this stuff so you could export two areas at once if you create a sub region By the way it’s just going to be uh the same setup as this it’ll keep this region but you’ll be able to select a new area i would recommend kind of just doing one at a time though just to keep things simple but it’s up to you really Nevertheless we can go ahead and click m again come back in here go back into area selection we have this house click on configure and to save a schematic it’s as easy now as going save schematica or save schematic whenever you’ve got it like selected and then you Can name this schematic wherever you want i’m gonna name it house again because well it’s the house schematic save the schematic there we go now we have this schematic right here saved by the way press escape to get out of those menus so now this is saved it’s good We’re good to go if we press m and go into load schematics the house is here awesome so now we want to go ahead and export this right once you’ve got the basically selection we can export it and go ahead and take this to a new Minecraft world right so to do this we can just disconnect we don’t have to do anything else we don’t have to add a schematic or anything and we can load into a world now i’m going to use a super flat world for this you don’t have To you can use any world that you want but i’m using a super flat world just because i think it’s easier except i just accidentally didn’t use a super flat world so we’ll just go ahead and go with this world that i’m creating i’ll see you after a quick jump cut all right So now that we’re in single player here we’ve got this kind of world setup the first thing we want to do is hit escape go open to lan and click allow cheats on now the reason we did this is because if you want to paste this in you’ll need to Be in creative mode if you want to manually rebuild it you don’t have to but by doing that opening it to land and allowing cheats we can now do slash game mode creative which i do recommend doing if you want to paste but we’ll do that Here in a second first off let’s load this schematic to do that you want to hit that m button then you want to go to a load schematic and then you have this house click on the house here this is the schematic we just exported and then the bottom left just click load Schematic right like so now uh kind of abruptly if we go ahead and hit escape here the schematic uh has appeared right here it is if we want to move this we need a stick so uh let me go ahead and give myself one of those real quick We’re gonna give and then your username and then just stick one bam and now we have a stick and we can go ahead and go through this right so paste schematic in world is what we want to have selected here and uh by doing this we can now Click where we want the corner of this schematic to be for example we want it to be right there which is kind of looking good if you ask me right i kind of like that sort of a layout then that’s where it’s going to go right it’s Going to go right here and it will export everything including grass blocks everything that was there is going to get exported but i kind of like this look i think it looks really really good here actually um is it cutting into a front door no i think that it’s going to Work great so nevertheless here it is now at this point you could actually go ahead and start building this and you know you can place blocks here and all that stuff and you’ll be good to go if you wanted to build this manually but i’m guessing you want to paste this in Game without having to build it manually in order to do that we want to go ahead and make sure we go into game mode creative so slash game mode in chat so slash game mode space creative right like so then once you’ve done that i’m gonna go ahead and hit the m menu Then we need to come in here and basically change a few settings specifically we need to go into the configuration menu and then here in the generic tab we need to search for paste replace behavior so paste and then replace behavior and we want to make Sure that this is set to all by default it will be none we want to make sure it’s set to all right like so once you’ve done that you then want to come up here to the hotkeys tab and then click on the execution operation and set This to k now you can set it to any key but k has always worked for me without any problems and once you’ve got that set decay you’re going to then close out of this now in game what’s the selection where you want it and again you can move It by clicking right like so right you can click around and put it exactly where you want it all that stuff once it’s there you want to go ahead and hit that execution key which in our case was k once we do that boom it is now paste In game right like so exactly as it was on the server looking good looking good we can go inside here all of that stuff it is now in game however if you do want to build this manually i do want to mention that you can actually see the Resources so if you go into m here and then you go into area selection browser excuse me not area selection browser my bad if you come in here and go to schematic placements then we have this schematic here we can click configure and then in the bottom right we can Click on material list and here’s all the materials you can do and you can also turn on the hud right like so and basically turn this on to where it’s going to show up in the bottom right the different items now it’s not gonna do that for me Because this is already placed and we’re good to go but that is something that you can do we can also go back into a loaded schematics as well and unload this to make that hologram up disappear and now it is in game we are good to go So that’s how you can use schematica to export things from a server like breakdown craft specifically a medieval north vale and uh yeah that’s kind of how that works you have any questions let us know in the comment section down below and be sure to give this video a Thumbs up and subscribe to the channel for more incredible content every single day of the week my name is nick this has been the breakdown i am out peace so i know we’ve already done the outro here but i felt like we were missing something how do you add in schematics In game or pull them out of game and basically move them to another computer upload them offline all that stuff well as you can see we have now zoom back out to the entire desktop we’re going to go ahead and minimize minecraft right like So and what we want to do is go ahead and click the little windows icon in the top left of my screen bottom of your screen or in the center of your screen on windows 11. type in run and you’ll open this run app here and then in this Run app you want to type percent sign app data percent sign exactly like so and click ok then you want to open up dot minecraft and in here you will have a schematics folder we open up that look there’s that house schematic that we made earlier we can then go ahead and by The way this does say dot like mataka if you add a schematic file in here it will work let me go ahead and copy and paste this and then we’ll rename this to house well house copy actually works fine then once we’ve got that we can come back Over into minecraft here go into that in menu go load schematics and there is house copy now obviously it’s going to be the exact same as house because it’s a copy of it but that just shows you that’s how you can do that go to the minecraft folder open the schematics Folder and then paste your schematics in here then you’re good to go nevertheless thanks for watching i’m nick and i’m out peace Video Information
This video, titled ‘How To Use Schematics in Minecraft (Litematica Tutorial)’, was uploaded by The Breakdown on 2021-12-29 04:00:06. It has garnered 189351 views and 2236 likes. The duration of the video is 00:11:10 or 670 seconds.
How can you use schematics in Minecraft? Well, in this video, we show you exactly how to use the Litematica mod in order to add schematics to Minecraft. What are Minecraft schematics? Well, they are files that allow you to easily transfer builds into your Minecraft world. You can do this using a mod like Litematica. We also go over how to create a schematic in this tutorial if you want to make a schematic of one of your builds.
Get an incredible DDOS Protected Minecraft server for you and your friends with SimpleGameHosting! https://TheBreakdown.xyz/SGH
Download Litematica: https://TheBreakdown.xyz/Litematica Download Malilib: https://TheBreakdown.xyz/Malilib Download Fabric: https://TheBreakdown.xyz/Fabric
Download Java: https://TheBreakdown.xyz/Java Run the Jarfix: https://TheBreakdown.xyz/Jarfix ——————————————— ► Subscribe!: https://TheBreakdown.xyz/YTSub ——————————————— Start Your Minecraft Server!: https://TheBreakdown.xyz/Paper How To See Your Minecraft FPS!: https://youtu.be/QIA6304Mj0E ——————————————— **SOCIAL MEDIA** Facebook: https://Facebook.com/BreakdownCraft Twitter: https://Twitter.com/BreakdownCraft Instagram: https://Instagram.com/BreakdownCraft/
About this video: This video is a complete guide on how to use schematics in Minecraft. Schematics are a great way to add builds from other worlds into your current world. Using a mod like Litematica, we can create schematics of builds and easily move them from one world to another. You can also download schematic builds and add them to your world using Litematica. So, without anymore delay, here is how to create and paste schematics in your Minecraft world.
First things first, you will need to download and install Litematica and Malilib using the Fabric Mod Loader. You can find links and guides on how to do all of this in the description above. We also quickly show you how to install these mods in the video. However, the main part of this tutorial is how to use Litematica once it is installed.
With Litematica installed, we can move on to making a section of what we want a schematic of. To do this, get a stick and use control + mouse scroll wheel to change to Area Selection mod. Then, press M to open up the Litematica menu. Then selection ‘Area Selection Browser’. Finally, click the ‘New Selection’ button. Name the selection you are about to create.
Go back into game and click the first corner of the selection. Then, click where you want the second corner of the section. You can use ALT + Scroll Wheel to fine tune the selection.
You can add multiple selections to one schematic file if you want. Do this by opening up the Litematica menu with M, click the area selection browser again, click Configure on your selection, and finally clicking ‘New sub-region’. You can then make this sub-region in the same way you made the first region.
To save a schematic in Minecraft, open the Litematica menu with M, open the Area Selection Browser again, select your area and click configure. Finally, click ‘Save Schematic’. Name the schematic what you want to name it and finally click ‘Save Schematic’ again.
To paste a schematic in your Minecraft world, join into a single player world and press M. Click ‘Load Schematics in the menu and select the schematic you want and click Load Schematic. When you back into Minecraft, there will be a hologram of the schematic you loaded in game. Get a stick and use control + mouse scroll to select ’Schematic Placement’ mode. You can use ALT + Scroll Wheel to find tune the placement. To get a general area click where you want the corner of the schematic to be. You can then gather materials and build the schematic.
However, you can also just paste the schematic into your world. First, switch into /gamemode creative. Then, with a stick in your hand, use control + mouse scroll to select ‘Paste Schematic in world’ mode. Make sure your schematic is where you want it to be paste, and go into the M menu. Click ‘Configuration, and click ’Hotkeys’. Find ‘executeOperation’ and set this to ‘K’ Then, go into the ‘Generic’ tab and find ‘pasteReplaceBehavior’, and change this to ‘All’. Finally, confirm again your schematic is in the right place and click ‘K’ to paste it in your world.
Congratulations! You now know how to add schematics to your world in Minecraft, how to create schematics in Minecraft, and how to paste schematics into a Minecraft world. If you have any questions about our schematics guide, let us know in the comments. We will try our best to help you out. Otherwise, if we did help you use schematics, please give this video a thumbs up and subscribe. Thanks in advance!
Note: Some of the above links are affiliate links. I may receive a commission at no additional cost to you if you go to these sites and make a purchase.