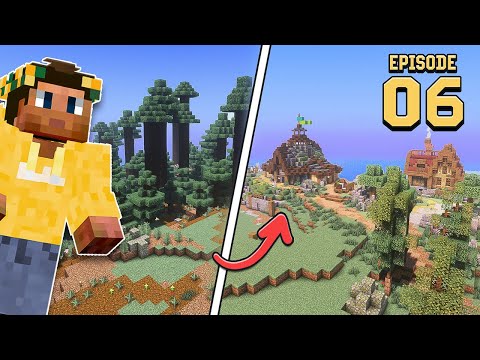
Hosting a Minecraft Server with remote.it
Hello everyone, Owen here to show you how to host a Minecraft server using remote.it. This method removes the need to port forward, making it simpler and more secure. Plus, it’s free for personal use! Let’s get started.
Downloading the Official Minecraft Server
First, download the official Minecraft server from the Minecraft website and follow the instructions to set it up. Make sure to have Java installed on your computer before running the Java Edition of Minecraft.
Using remote.it to Host the Server
Next, sign up for a free remote.it account and download the remote.it desktop app for macOS or Windows. This app will allow you to host the Minecraft server without the need for port forwarding.
Sharing the Server with Friends
Once the server is set up, use remote.it to share it with your friends. They will need to have remote.it accounts as well. After sharing the server, your friends can connect to it using the remote.it desktop app.
Connecting to the Server
As the host, you can connect to your Minecraft server using the bind IP address provided by remote.it. Your friends can also connect to the server by downloading the remote.it desktop app and following the steps to connect to the shared server.
With remote.it, hosting a Minecraft server becomes hassle-free and secure. No more worrying about port forwarding or network security. Happy gaming!