How to Create a Minecraft Server for Free
Are you a Minecraft enthusiast looking to create your own server for free? Look no further! With the help of the latest version of Minecraft and some simple steps, you can set up your own server and start playing with friends. Here’s a step-by-step guide to get you started.

Setting Up the Server
To begin, you’ll need to log in with your Google account on Google Cloud Shell, which is a free service. Once logged in, run the necessary updates and download the server jar file, which is the basic file for the server. Make sure to check for the Java and gtk versions before starting up the server.
Configuring the Server
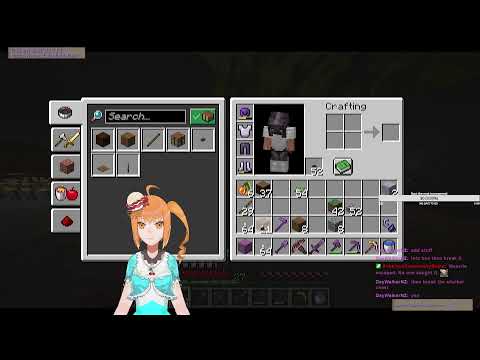
After downloading the server jar file, create a new directory and place the server file in it. Then, edit the server settings to customize your server’s message and color. You can also add a server icon if you’d like. Once everything is set up, start the server with the appropriate amount of RAM.
Connecting to the Server
Once the server is up and running, you’ll need to sign up with Ang group to connect to the internet. After signing up, you’ll receive a token to add to the server. With everything set up, you can now join the server and start playing with your friends.
It’s important to note that you’ll need to manually save the world and stop the server using specific commands. Additionally, you’ll have access to all Minecraft commands, allowing you to customize your gaming experience.
With these simple steps, you can create your own Minecraft server for free and start enjoying multiplayer gaming with your friends. So, what are you waiting for? Get started and dive into the world of Minecraft!