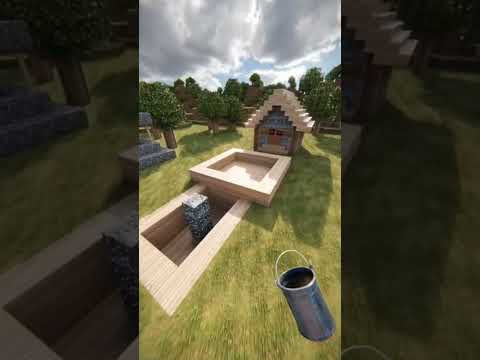
How to Install Shaders on Consoles for Minecraft PE 1.20
Are you looking to enhance your Minecraft experience on consoles? Do you want to enjoy realistic and stunning graphics in your favorite game? Look no further! In this article, we will guide you on how to install shaders on consoles for Minecraft PE 1.20.

Shaders that Work:
Before diving into the installation process, it’s essential to have shaders that are compatible with Minecraft PE 1.20. Here are some shaders that you can consider:
Installation Method:
To install shaders on consoles, follow these simple steps:
- Purchase or download Minecraft PE 1.20 and log in to the game.
- Accept the offer of 30 days of Realms for free.
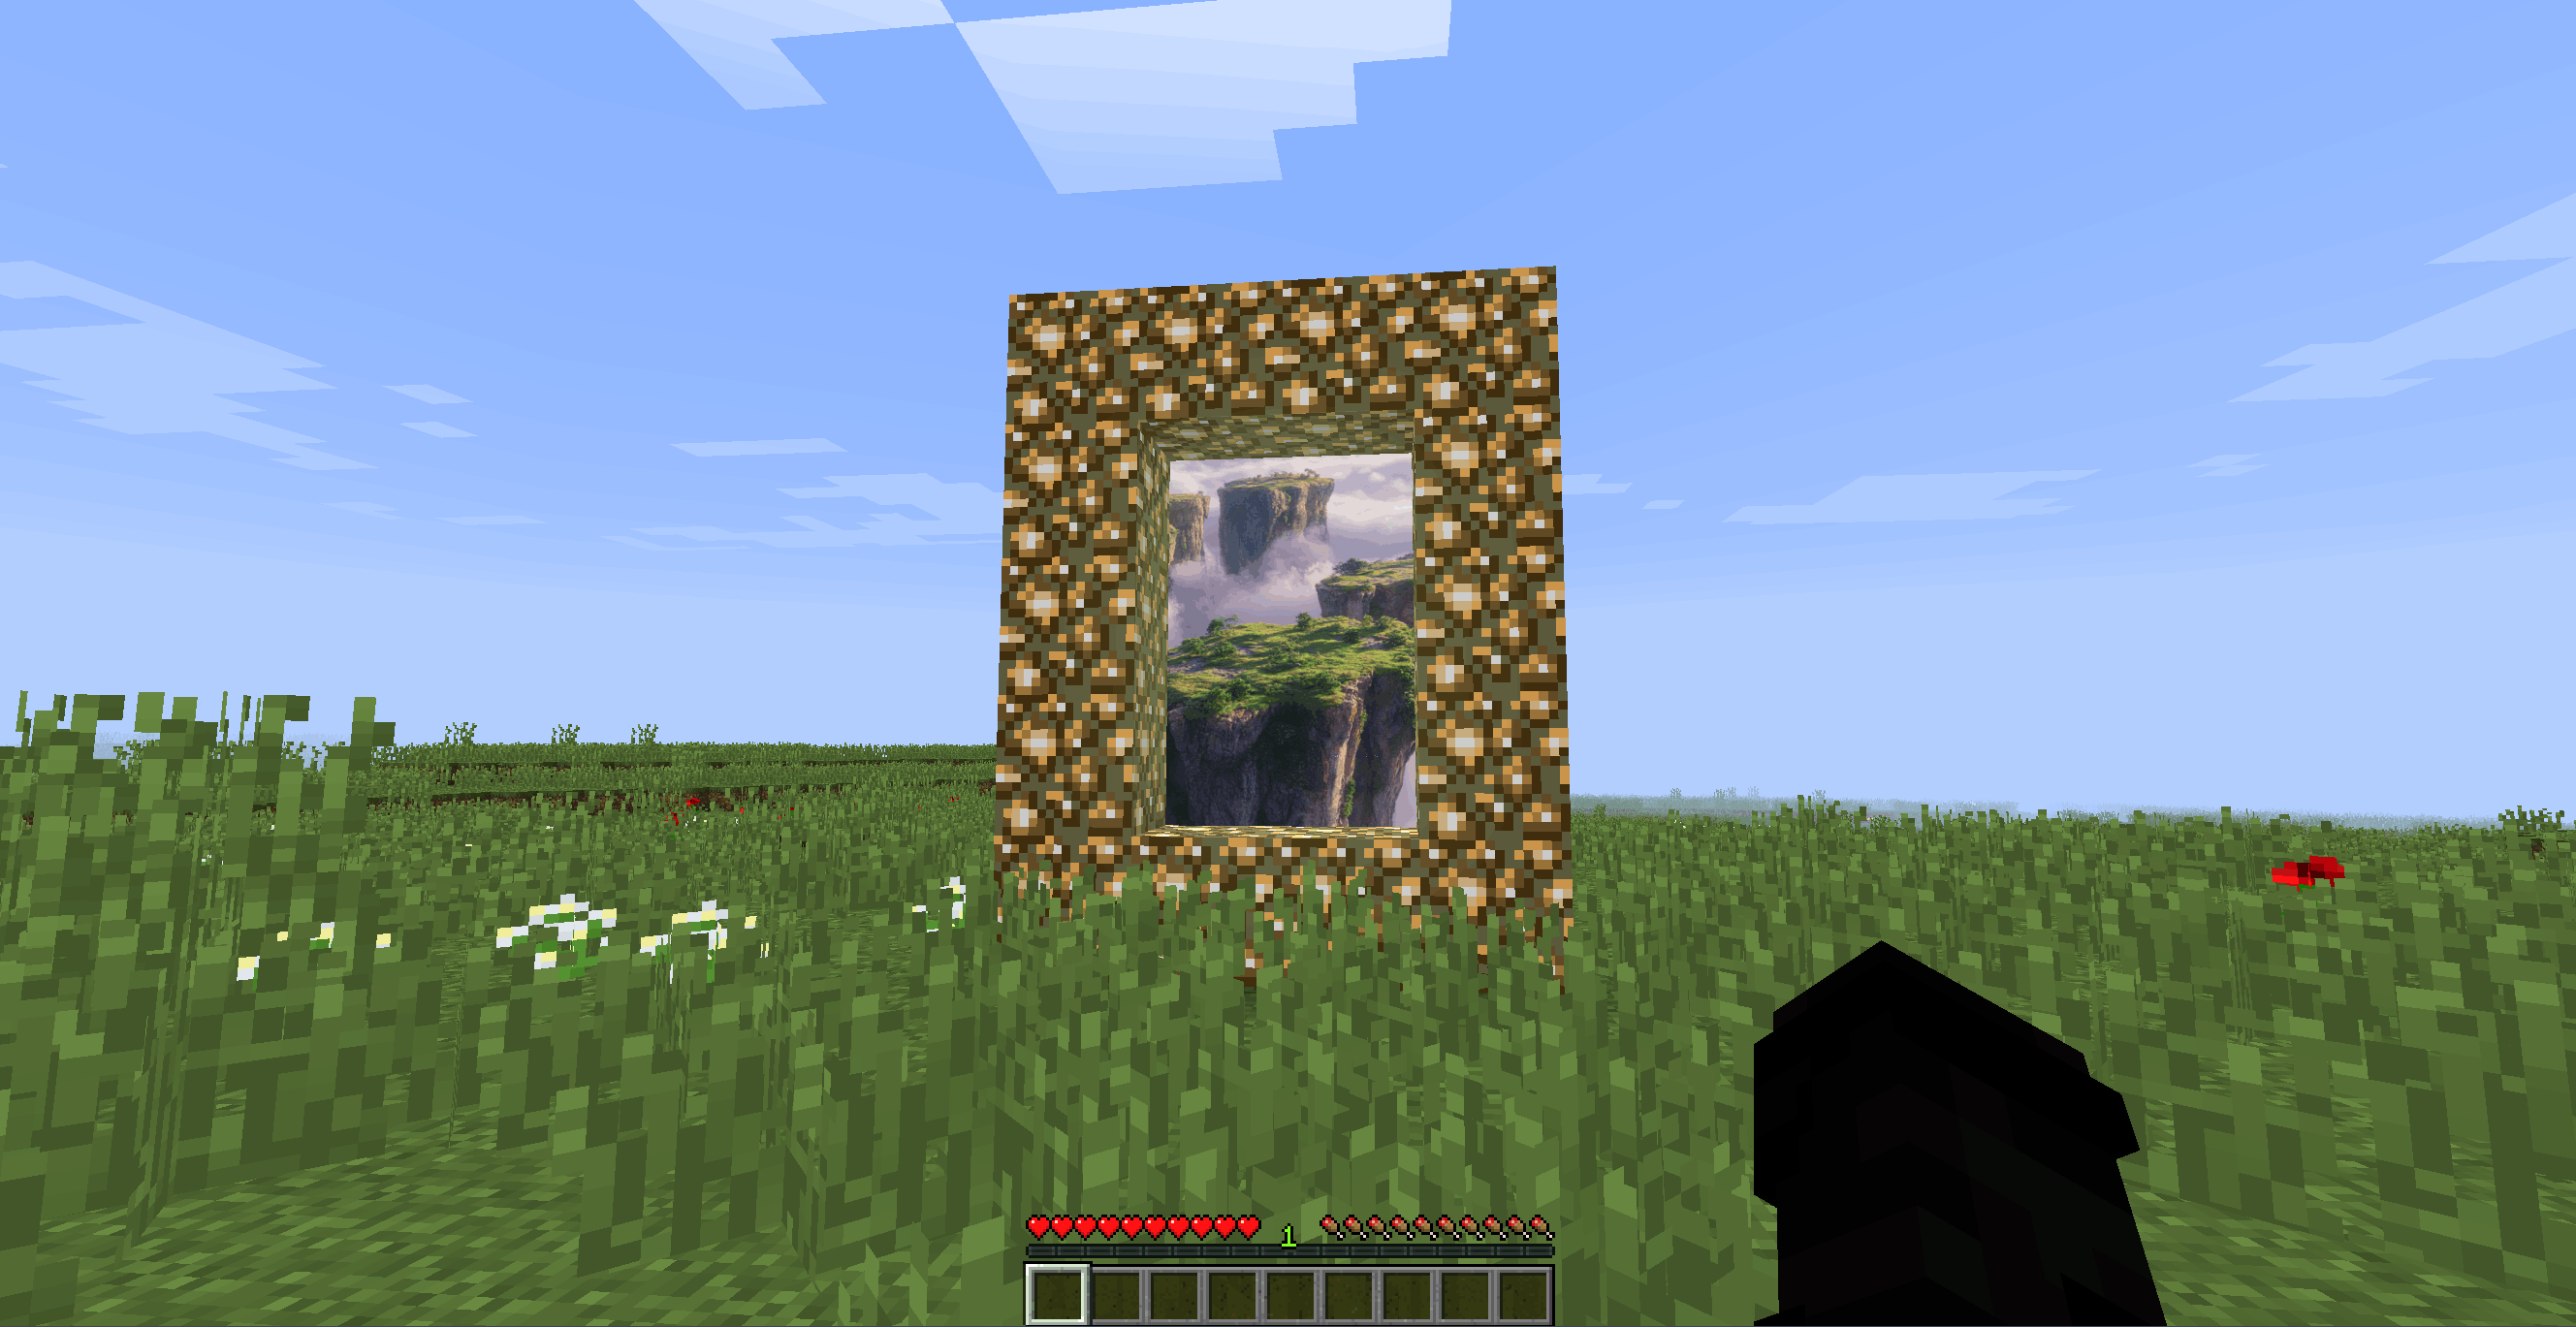
- Visit Sir The King’s website and choose a shader that is compatible with Minecraft Vanilla.
- Download the shader of your choice and install it in the game’s settings.
- Create or edit a world in Minecraft and add the shader as an add-on.
- Play in the modified world and enjoy the enhanced graphics on your console.
Additional Tips:
While installing shaders on consoles, keep the following in mind:
- Ensure the shader is compatible with Minecraft PE 1.20.
- Explore different shaders available on platforms like YouTube or MCPEDL.
- Remember that modifications can only be installed in the world and not in the console’s cache memory.
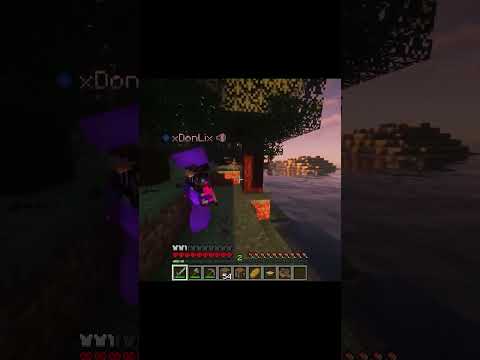
By following these steps, you can elevate your Minecraft gameplay on consoles with stunning shaders and graphics. Say goodbye to the endless search for installation methods and enjoy a visually enhanced gaming experience!
Remember to subscribe for more Minecraft content and participate in exciting giveaways. Happy gaming!