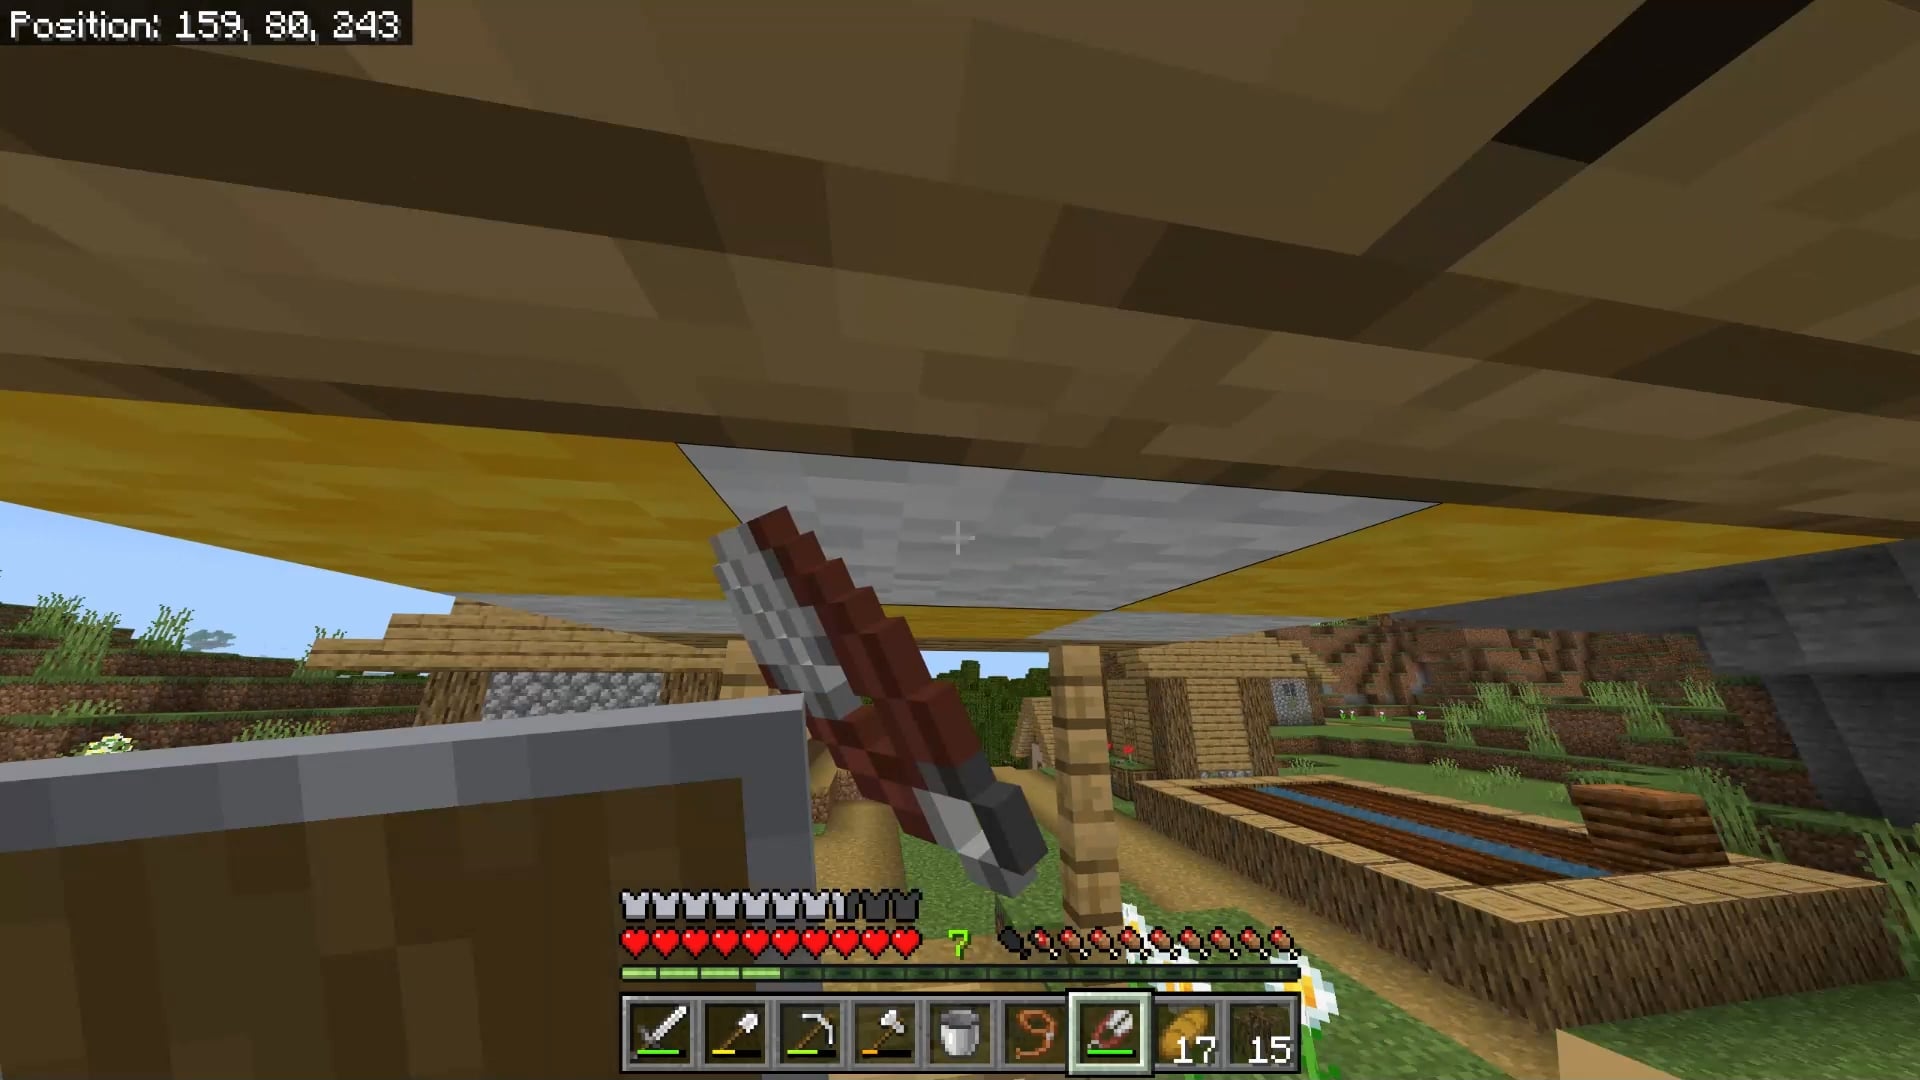
Hello wonderful people it’s wild here today I’ll be showing you how to build a medieval shop and then I’ll show you how to decorate it to create a bakery let’s get creating The materials you’ll need for this build are on your screen now keep in mind we’ll be using some of these materials to create randomized textures so it’s helpful to have a bit more of each material on hand here is the outline of today’s build you can see that the front end the front Door of the spill is located near the bottom of the screen and you can put in an outline like this to help you build as we’ll be covering over all these blocks we’re going to start by using some stone bricks and building up four high one two Three four on each of the corners of this build I’ll then also build up four high here one two three four so we should have all of these pillars marked in now you’ll see without outline that we’ve got this concrete that’s where the main wall is going and then we’ll be putting details on top of where we’ve Got concrete powder but for now we’re going to continue with some stone bricks and starting one block above and then at the top block we’re coming out on the sides of the walls where the walls will connect foreign Once you’ve gone all the way around doing this we can begin filling in keep in mind you’ll want to leave it too high gap for the door on this front wall you’ll also need to leave it too high Gap here on the side for the side doorway Or fill in all the way across the back across the side as well and then when we come to this larger front wall I’ll fill in around these decorative bits with the bricks I’ll come across the top and across the bottom and then I want to create an archway Using two stone brick stairs so it should look like that then I’ll continue with some Stone break and I’m going to place these on top of each of these locations in the corners and you can see that these are located in front of the stone brick columns I’ll Then place a stone brick stair on top I’m leaving out the ones on in front of these two columns to give us more space in this front window I’m going to add in the flow now I’m using some dark oak planks and this will connect up well and provide continuity with the rest of the build quickly fill all this in I’m also going to start filling in my floor here and I’m going to be using some dark oak slabs I’m allowing a space to add in my ladder and then I’ll continue filling in don’t forget to light up your build as you’re doing this you don’t want mob Spawning even in Creative they can be an annoying thing to have to deal with so I’m just going to throw in a few torches for now now I’m going to come back outside the build and I’m one block away in front of this here stone brick column and I’m Going to build up four high using some Spruce logs I’ll then add in some dark oak stairs one facing towards the build here and then two facing towards each other and then I’ll fill in this Gap with some more dark oak slabs You can see from above we’ve got two sections of dark oak and here’s how it looks from the front now I’m going to come to the back of the build to start working on the base of the chimney I’m going to start on this left hand Side building up too high of a stone brick and I’ll place a stone brick stair on top I’ll then build up three high in the rest of the locations like that and I’m going to add two stone brick walls to this side then I’ll just finish this part by Coming up two more blocks here and placing a stone brick wall in front now we’re going to begin preparing to add the Second Story on top I’m going to grab out some dark oak slabs and I’m placing them in front of each of these stone brick columns As well as in front of this pillar here come around this side I’m going to leave this one free but I’ll rotate round and do the one on the back and then one here and then I’m going to connect up all of these using some dark oak trapdoors I’m also filling in the corners as well on the front I’m going to leave this Gap free and jump over to this side I’ll add in one here one on the other side and then come over and add one in front of this slab but I’m leaving this Gap free And then I’ll fill in this section here so let’s look from above I’m then going to grab some Spruce planks and I’ll place two here and one on the other side and two slabs in between and then I’ll come around to the front and I’ve got some green and white Wool and I’m just going to alternate them to fill in this Gap That way we’ve got a nice rectangular platform to build on top of we’re going to start the second Story by adding in some posts using Spruce logs I’m going to build up four high one two three four starting in this left hand front corner I’ll then build up four High on top of this green wool like this I’ll come to the back of the build and build up four high so I’m directly lined up so you can see these two line up in these two line up and then on the left hand side I’m going To separate the thing into two parts so we’ve got three on this side and three on that side I’m gonna have a gap of three coming along this back wall and another gap of three then I’m going to line up these two front posts with another post Count one back and place one in here and then I’ve got a gap of five left on this side I’m then going to come along I’m keeping myself lined up so I’m one block away from this post and add in another one and then I’ll separate this into two Blocks of three and another on top of this green wool so let’s have a look we’ve got groups of five and three here another group of five at the back we’ve got a one block Gap here and groups of three at the back a group of five along this right hand side and Then a group of one and then these should be four groups of three and you can see these posts from above next I’m going to use some red wool as a placeholder block to Mark in the location of Windows this will make it a lot easier to put in our walls On this front side I’ve got two going in here you can see I’m placing these window placeholder blocks over the top of the stone brick rotating around to the left hand side I have two more windows and you can see all of our windows are too high and one wide and they’re Centered on this back wall I have two mirroring the ones in the front like this I’m leaving this wall free of windows but I will have a window here two windows on this right hand side coming around I have another window here and then I’m going to leave a gap here For the doorway got all of our locations marked in now we can start adding in the walls for the walls I want to use a mixture of smooth Sandstone regular sandstone and Bricks we’re aiming for a textured look here so it’s up to you how much or how little You use of each material but I like to have the Sandstone placed nearby to the bricks and then fill it in with the smooth sandstone and don’t be afraid of taking a step back and changing up your design so I think I might move this Sandstone around A little bit I’ll add one up there and maybe I’ll bring some Sandstone across the bottom here and I’m just going to go around like this keeping in mind that the Sandstone from one corner is going to wrap around to the next and fill in If you’re enjoying today’s tutorial I’d really appreciate if you can so liking and subscribing and if you’d like to get world downloads and play on my patreon server with an awesome community of Builders check out my patreon This wall here is going to be behind the chimney so you won’t see a lot of it but we still want to add lots of texture to this wall as it will be visible from the inside Thank you once again I’m gonna take a step back and check that I like the location of this texture I’m going to change it up a little bit so we don’t have the bricks in all of the corners Then when we’re coming around this front part of the build you can see that I’m leaving this section free and working Along on top of the stone brick this section is going to be a little balcony so we don’t want a wall in front of it Once other walls from the outside are visibly filled in you’ll need to come inside the belt and fill in these gaps now you could go ahead and fill it in just with the smooth Sandstone like this or you could continue to add texture in between There we go all the gaps are filled in and we can remove our red wool placeholder blocks now and replace them with some white stained glass of course you don’t want to fill in the door with the white stained glass Here’s how it’s looking so far now we’re going to take some dark oak slabs and we’re going to place them on either side of the walls like this in this one white Gap I’ll just add in one here and then I’ll continue around following this pattern I’m going to leave this Gap here where we’ve got the chimney coming up free and in between each of these I’m going to add in some dark oak trapdoors Now I’m at the back of the build and we’re going to continue working up our chimney so I’m going to add two more stone bricks here and a stone brick wall then I’ll build up to the top of this wall here and we’re going to come to the right Hand side and add in two stone brick stairs and you can see I’ve got the bottom one upside down so it creates this curved shape then at the very top I’ll add in a stone brick wall and on either side I’ll go in with some dark oak slabs so the chimney should look Like this switching back to some Spruce logs I’m going to find the center of this front wall here so on top of this trapdoor and build up five high one two three four five I’ll then come to the back of the build and do the same one two three four Five so it should be centered above these two windows then on these two side walls I’m gonna build up seven height on top of this Center pillow one two three four five six seven and then on the right hand side of the build I’m going to need to line up this Pillar and you’ll see it’s located atop this window and I’m placing it on the trapdoor here one two three four five six seven now that we’ve got our posts in we’re gonna add in some more windows these are going either side of this post located one block above like this And you can see that I’m building this one block back from the post so it’s in line with where we’ve got our walls on the lower story and we’ve got two windows on the other side as well now we’re going to use some smooth Sandstone sandstone and Bricks to create Some gables on these two smaller Gables we’re going to go up one block first and I’m building behind the post here as well then a group of two And then I’ll fill in two behind the post so it should look like that let’s do the one on the back as well one thing to keep in mind is you don’t want to perfectly mirror the texture that you’ve got going on on the other side So I’m going to instead of having a smooth Sandstone here I’m going to go in with a regular sandstone and I’m going to move the brick up to this location on this side Let’s see I might put the brick down here and then some Sandstone here and once again we’re going up one then a group of two I might add in another brick and then I’m going to fill in this Gap in between And that’s our back Gable in now onto these two side cables we’re going to have a layer of one and then go up in grouping of two again so I’ll just start filling in and randomizing this texture so we’ve got our first layer already joined in with this corner here And then I’m going to start coming up in my grouping of two so the next grouping of two is going to go directly above the window And then I’ll come behind and fill in this Gap Foreign and I’ll do the same on this side now you’ll need to keep in mind here that we’ll be building over the top of this Gap so I’m going to start by coming out to this side And I’ll be building out a total of three and then I’ll do the same on the other side of the spilled and you can see that the final block will be floating for now then I’ll start going up in my groups of two Then come in behind and fill in So here’s how it should look now I’m going to grab some dark oak stairs and I’m going to create little arches in front of this balcony area you can see that to connect them I’m using a darker trapdoor while the dark oak stir in here and then In this Gap I’ll fill it in using some more dark oak trapdoors I’m going to come underneath to do this so I can make sure that I’m getting and filling in this Gap underneath where that Gable wool is now I’m placing these trapdoors in by holding shift and clicking on the Edge of the trapdoor but if you are having trouble placing them in that way you could easily put in a row of placeholder blocks on top like this and click directly on the Block and then you can remove them afterwards speaking of removing placeholder blocks I’ll also remove these ones here for the Windows and replace them with some white stained glass just like that and we’re gonna add in a ladder now to the attic story and fill in the roof around it using some Sandstone slabs Foreign The three levels of this build are really coming together now before we begin adding in our roof I’m going to come inside and add in a few torches because we don’t want mobs spotting inside of our build I’ll also come up the ladder and I’m going to place some just on the ground For now in this attic space so that way it doesn’t get all dark when we start adding in our roof before we get adding in the actual roof we’re going to add in our two chimneys as they will be taking up some of the roof space and we don’t want to have Blocks in our way when we build them I’m going to start with this one on the front and I’m placing a stone brick on top of this dark oak trapdoor and then I’ll add another three on top so a total of four high here I’ll then build up behind that so we Have a little L shape which is all four High then I’m going to leave a gap and then add in two stone brick walls like this coming up I’m going to add in a stone brick here in the corner and then I’ll add an upside down stone brick stair I’ll add in a stone brick on top of this and another upside down stone brick step this time facing the opposite direction I’ll add a block on top and then I’ll use a placeholder block to add in another stone brick stair facing upside down and towards the left hand side I’ll add one more stone brick on top and that’ll add campfires to the top of each of these points and surround them with some Spruce strap doors thank you There’s how the first chimney should look now we’re going to rotate round to the back of the build to add in another chimney coming up from this point here so I’m going to build up four high one two three four on top of this stone Brick and I’ll go in behind and do the same thing like this then starting one block above I’ll go in with three stone brick walls I’ll add in two stone bricks behind here and a stair facing forward then I’ll add another block on top of here and a block behind and a stair Facing it towards the side like that then I want to have another stair on top and another block a few more blocks on top and then I’m going to build up this last part of the chimney three blocks high I’ll then add my campfires on top of these three points and Surround with Some more spruce trapdoors Now you can see how the whole chimney should look at the back now we can start filling in this roof for the roof I’ll be using some green terracotta and lime terracotta and then we’ve got dark oak for the edging which is going to trim the whole roof and then I’ve got some Spruce logs and some placeholder blocks the idea is to have it fade from the green terracotta at the top into the lime at the bottom let’s start with the line and I’m going to build a cross from this log here working on the back of the build And I’m going to come underneath the chimney here and I’m going to stop when I get to this post as we’ve got to remember we’ve got to wrap around as we come up to this Gable the next layer is two blocks high and I’m going to start bringing in some of This green terracotta but just a little bit here and there foreign Let’s see I’m going to add in one in here and then here’s where I’m going to start wrapping around to join up with this part of the Gable next layer up is again too high and we’re going to have a lot more green terracotta coming in here In fact this layer is a mostly green terracotta I’m also going to fill in behind here and then continue along The next layer is mostly green terracotta with just a little bit of the lime once again I’m going in behind the chimney here I add a little extra lime in here and continue coming across and when I get to this part of the Gable here I’m going to wrap it around adding In just a little bit of lime And you can see we’ve connected up that part of the roof I’m then going to come to this side of this smaller Gable and I’m going to fill in this corner here so I’m going to start by placing a lined terracotta on top of this post And then I’ll work my way up using a little bit of lime here at the bottom a little bit of green and adding my texture as I build up There’s our Corner filled in and now I build too high across the whole top using just the green terracotta Atop this post here like this here’s how it should look now I’m round at the front of the build and we’re going to start filling in this side I’m going to start again with this corner placing a lime terracotta and once again just filling in as we go Fading in from the lime to the green So here’s how I’ve done this side and now for the other half of the front wall I’m going to come in with my lined terracotta and go all the way across the base here underneath the chimney and work my way up foreign Make sure you come in and fill in behind the chimney here and I’m going to add in another one on this next layer the tiny bit of lime in here and then the rest is going to be mostly green I think I might add in one more lime just here thank you So that’s the base of the roof done let’s add some edging this edging is going to make a really big difference to the overall appearance of the roof I’m going to start by building out with Spruce logs at the top of each of these posts you can see I’m coming out two blocks Now I’m going to come down to the base of the build and come all the way across using some dark hook slabs and I’m going to finish just before this Gable here I’ll do the same on the other side finishing just before the Gable now I’ll work on these two smaller Gables starting by going in with some stairs and working up and I’ve got blocks underneath Then at the top I’ll have two blocks and a slab I’ll also come underneath and add in some stairs for a smoother look so it should look like that I’ll do the same on the back side as well thank you there we go with that cable Now we want to create a similar Gable pattern on the two larger Gables so we’ll go over stairs first and I’m placing these at the top of each grouping of two Place blocks underneath and stairs underneath this And then at the very top we’ve got our two blocks and a plank Let’s do that on the other side foreign These Corners I’m going to go in with some dark oak trapdoors here’s how the roof and build is looking we’ve got some important details to add now the first detail we’re going to add are some planters so I’m coming underneath here and adding one in this one white Gap As well as one to this side here I’m going to have a three wide one underneath this window one over here and a three way one under this window let’s see I’m going to add one to this side over here and three in front of this window Then I’ll come down to the lower level and add in some more I’ve got one here let’s add a throughout one here and a two wide one here a planter on this side and then I’m going to surround each of these Planters with some spruce trapdoors foreign Make sure you cover all the visible dirt So the ones on the lower level now on to the upper level When I add plants to these Planters I’m going to stick to plants which are green red and white but you could switch out the colors for whatever color you’d like another great way you could customize this build is by switching out the green terracotta and lime terracotta used for The roof to some other colored terracottas you could use some pink and red for instance you can also switch out the colors that we’ve got going on here with the wool this is going to create a lovely Woolen canopy continuing with the details I’m going to Come up to these posts here and add in some Spruce fences coming two down like this and I’m going to come over this side with some Spruce locks and come out of either side like this underneath each I’m going to go in with some more Spruce fences I’m going to do the same around on the sides of the build as well looking good we’re going to be using some Oak trapdoors to create some window shutters here I’m just having these on one side of the windows There we go and it’s up to you when you’re placing these in you could have these mirrored like this you can have them on the outer edges I’m going to add some window shutters to these Gable Windows here you could even move this window shutter over and have them all to one side It really is up to you I think I like that look I’ve got to add my window shutters to this side now that our windows are decorated let’s add some decoration to the doorways I’m going to start with this one under here going with some stone brick walls and Spruce fences I’ll then use a placeholder block to put dark oak stairs on either side this one can be a little tricky to place in you might have to stand on top of this planter and then I’ll remove that block and add in a slab I’ll also put in a spruce door here I’m going to create the same decoration down here on the lower level And then on this door I’m going to leave it decoration free as we’re going to be having a canopy coming over the top but I will put in my doorway let’s add in this canopy now we’re going to be using some campfires to achieve lots of texture here I’m going to start By placing in one campfire straight on top of this block then I’m going to come two campfires along and you can see I’ve rotated round so that the logs are facing the other direction and then I’ll finish with two more campfires also place a campfire coming forward on This block here and then a campfire underneath this window now we’re going to go in with some slabs I’m placing slabs underneath some of these campfires like this and this is trapdoors underneath the other ones now we’re going to come forward for this last layer and I’m going to line myself Up with this block and add in two fences you can see that this is one block away from these stone bricks here I’ll add a stair on top and a campfire And we’ve got another stair and a slab underneath here and then we’ve got our final layer so I’ll go in with two more Spruce fences and another stair S should look like this it’s got a really rustic effect it provides some decoration for this doorway I’m also going to grab some Spruce trap doors and come to this stone brick here and I’m going to build three out and place one on the center block now from Here we can hang a sign and what you have on your side depends on what you intend on selling in your shop I think I might turn mine into a bakery I’m also going to continue along with this canopy here I’m going to build it One more out then I’m going to use a placeholder block and come down and continue my pattern along from here I can also add in some Spruce fences underneath just like that let’s come up to the next layer here and we’re going to add in a banister and I’m Going to be using some dark oak stairs here coming out from either side and then also filling in this Gap and I’ll Place some dark oak trapdoors on top foreign I really like the effect this gives we’re going with some lighting I’m hanging lanterns across the sides here And then I want to hang them two chains down underneath each Gable I’m going to place in these signs where I would put them but you can decide what you want to put on these signs later I’ve just got mine blank for now I’m also going to be placing some item frames over here now if you had a bakery you could put a loaf of bread in here or you could have something else that relates to what your shop is then I’ll come inside and I’m going to Place in some Spruce trapdoors coming around this opening here that way we only have a 1 by 3 opening in the center I’m also going to come upstairs all the way up to the attic space and I’m going to be placing in some barrels in this Gap here And you can see from the inside of the spill that is really very spacious and you have three floors to work with and even a lovely balcony space Now let’s put this building in a location and I’ll show you how I go about decorating it to look like a bakery so here we go I’ve put my building in a medieval setting you can see I’ve actually got a town popping up around my bakery Now I’ve got lots of wheat growing out the front but of course you could build this in a row of shops along a street I’ve built a little hay cart ready to supply my bakery and then as we come up this way I’ve created a small bakery Card perhaps the baker takes this cart to Market I’ve also created some seating dotted around the place and I’ve put these bales of hay this Bakery is going to need a lot of flour underneath this first canopy where I’ve got a sign I’ve got some supplies stacked out the front and this just Gives it a more lived and feel and you can see I’ve got some baked goods ready here to sell We can also see around this way I’ve planted lots of flowers in my Planters and I’ve gone with Reds whites and greens and this really plays into the colors of the build we’ve got the bricks coming in the Sandstone kind of has this creamy white texture and then we’ve got The green and the roof let’s head inside now so this first level is where we’ve got the main section of our Bakery so I’ve got some storage at the front near here with lots of ingredients and then as we come around this L-shaped room I’ve created a galley Style Kitchen way so I’ve got some things speaking in here and a great tip you can use to create some cooking campfires is to have these hair smokers now my cooked mutton is already cooked but if I grab out some more food put some raw mutton here it creates this beautiful fire texture which looks Fantastic in the bakery and you can see I’ve got a larger Bakery oven here having this located in front of the window means that you can see it when you look in through the build which really applies into the style that this is a bakery so let’s head upstairs past All these delicious baked goods to look at the living quarters on this first floor I’ve created a galley style walkway with a desk at the scent and then as we head past the fireplace and some bookshelfing we end up in a small eating area now I haven’t Included a kitchen in this house part of the build because of course there’s a bakery downstairs but I have included an area which is practical in survival and looks great and creative using lots of the crafting blocks like this here Loom and then we’ve got the cartographers Table as well as some other useful things let’s head upstairs for a tour of that room now Up here we’ve got a bit more space to work with so of course in survival you could use this for lots of storage I’ve got some decorative bookshelves up here and I’ve used some sea pickles some turtle eggs as well as pot plants to decorate I’ve also kept my Decor in here similar To what we’ve got going on outside so there’s wheat the berries which ties into what we’ve got planted in our pot plants and then I hope because of course we’d need to be able to collect that wheat I’ve even got some furnaces up here for some more practicality I really Like the way these Planters utilize a composter so you can use these to create bone meal to continue growing your crops now if we’ve head past this cozy fireplace we end up in the bedroom of the house and this is taking up lots of space so we can have a really Comfortable spacious bed to jump on and we can look out through these wonderful windows at the nice view it’s important to keep in mind the use of your space if you’re in survival you might like to use less bulky Furniture so you can have more practical elements In your build or you could go for purely a decorative effect and then you don’t need to include some of the resource blocks or you could do a mixture of both and even add a basement if you want more space and of course you could use this Build to create any number of stores you could even switch out the roof and have some next to each other and maybe one could sell flowers or armor or be a blacksmith I hope you enjoyed today’s tutorial if you did please consider liking and subscribing and check out my patreon if You’d like to support me further and get some awesome benefits see you in another video Video Information
This video, titled ‘Minecraft Medieval Shop | How to build a medieval village in Minecraft’, was uploaded by Jax and Wild on 2023-04-01 14:45:00. It has garnered 10234 views and 379 likes. The duration of the video is 00:37:54 or 2274 seconds.
This minecraft build tutorial shows you how to build a medieval shop step by step. Its an aesthetic minecraft build with lots of character perfect for your survival or creative world. You could build one or a row of them or swap the canopy colours for a medieval streetscape in your minecraft medieval village
❤️Play on our Patreon Multi World Server Check out our Patreon : https://www.patreon.com/jjaaxxthelegend The Mythical server is full multi world whitelisted server that lets you play in survival, creative, SMP, The City and much more.
🔔 Hit that subscribe button to be notified of our latest videos
💻 Join The Ice Cave Discord and chat with other fans: https://discord.gg/D2QcemP
Follow: Wild_One Twitter: @ima_wild_one Jjaaxx Twitter: https://twitter.com/jjaaxxthelegend/ Instagram: https://www.instagram.com/jjaaxxthelegend_ Patreon: https://www.patreon.com/jjaaxxthelegend
A minecraft build tutorial video from #jjaaxxthelegend