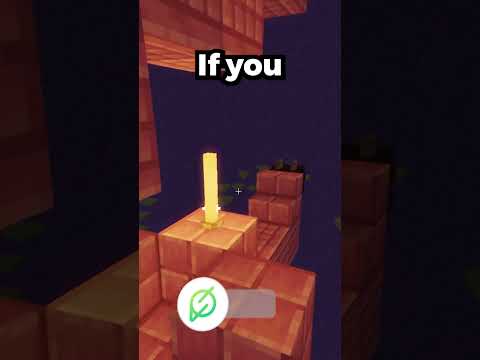
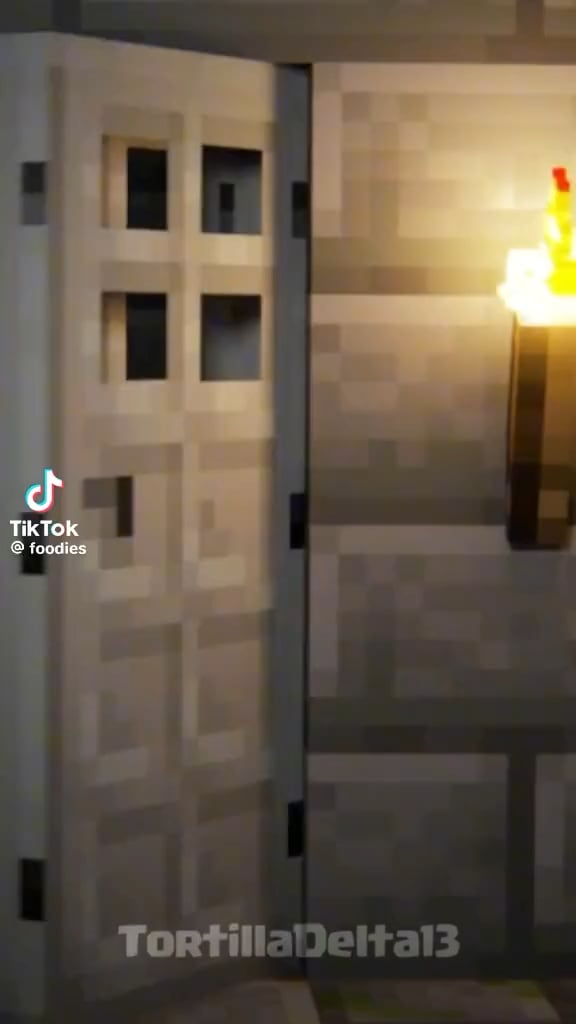
So So Do hey guys welcome back today i’m building this awesome wizard tower that i wish i could live in in real life and it’s available on my patreon just like all my other builds but so you know i had to split it up into two videos so the first One is going to be just the tower and make sure you check out the second video which is going to be the actual snake part of it all right let’s get into it so we’re going to start with the base of the tower and here’s the dimensions for That we’re going to start with this entire red and yellow area just cover it with stone brick slabs all the way around and then just inside of that we’re going to line it with regular stone bricks all the way around then these little three piece bits here go ahead and fill Those in as well now in these areas you’re gonna put five of the stone bricks across on all four sides and right in front of those just uh throw down stairs on all sides equal again now we’ll put the chiseled stone in all the corners and this is the back wall So it’s five high by five wide it’s all stone bricks except i’ve got a couple of pieces of iron fence and cobblestone wall and these are all cobblestone walls as well too high then put two chiseled stone in each corner and then i’m gonna start on the Side this is this both sides are gonna be the same it’s again five high by five wide all bricks just tuck some upside down stairs and then some cobblestone wall right in the middle then again on the other side it’s just for a little variety just so it’s not a Blank wall not functional at all before we go any higher let’s fill in the floor with some dark oak planks then just like the stone areas we’re going to fill in those little three bits and this is dark oak slabs and then dig out and then dark rock Planks floor is done and this is the front this is the hole where the snakehead’s going to bust out of so that’s why it’s going to look like a jagged hole that’s exactly what it is just tuck some stairs in the corners and you’re done with that part now we’re Gonna build up those wooden corners so right on top of those chiseled stone blocks you’re gonna stack eight of these stripped dark oak wood breaks up the stone brick pattern that we’ve got everywhere else then cap them off with more chiseled stone here’s where we start separating the layers with cobblestone wall And you’re gonna do this almost all the way around the only place you’re really not gonna do it is on the back wall because that’s where your water elevator is gonna be so i’m just gonna add a row of stone bricks back in the front we’re going to add Three layers of stone bricks before we start building up to make that first window which is seven blocks high on either side by the way then we’ll connect them and add one more row underneath and then tuck stairs in the corners again that’s it for now we’re gonna go to the side Which is the same exact pattern as we did in the front so seven high and then two rows and then tuck the stairs in the corner and one more time exact same thing three layers seven high two stacks two stairs then in the back we’re just gonna stack These bricks as high as everything else which should be 10 high cobblestone walls and then the chiseled stone this time we’re going to add 9 wood all the way around the only reason i did this was so that it looked better in the thumbnail when the snake is Wrapping around it so if you want to keep it even you can just do eight if you want but but this is what i did and then cap them with the chiseled stone add two more of the cobblestone walls in the back stack more stone bricks 11 high now another layer of cobblestone Bricks that goes all the way around except this time just like last time it’s not going to be on the back wall then add four layers of stone brick on all three sides before we add the next layer of windows this time for the windows i’m gonna Stack four of these and then put four of the cobblestone walls just inside I’m gonna do that on each side with all three sides that are left and then we’re gonna cap the top which is gonna be a little bit different than we did last time because now we’re about to hit the roof so we’re going to put these stairs in here Just place them the way that i do they’re going to come to a point pretty much at the top and then we’re going to just put one stone brick right in the middle and then we’re going to repeat it on the other two sides so just go ahead and follow along with what I’m doing here and we’re going pretty high up here i don’t know how anyone’s going to build this in survival i bet somebody does but uh wow good luck let me know how that goes now we’re going to get ready to place the big fires all underneath the windows So i used three pieces of netherrack all the way around and covered them with dark oak um trapdoors and then or you could put flowers in there if you’re nicer than me but i like fire so i’m going to put the upside down dark oak stairs All the way around to make it look like it’s supported against the building we can light that on fire in a bit now the reason i’m using a piece of yellow wool and then putting these here is that we’re going to have to do some interesting things with upside down Stairs and i can’t until the other blocks are already in place so for now whatever block and then seven stone bricks now seven more stone bricks on all three of those sides then just inside we’re gonna put five more and now we’re just kind of piecing it All together it took me a little longer to figure out because it gets kind of complex so if you could just follow along with what i’m doing great if not so sorry but some of these are pretty pretty difficult to do and show and repeat just do your best you can always fix Things afterwards if something is out of place it’ll just be a block or two in that area this is dark oak planks five of them uh we’re gonna be do this on all sides some of it may get destroyed later when we’re putting the snake around the tower but um For now i’ll just put it all the way around maybe you don’t even want the snake and you just want the tower so there you go and then there’s dark oak slabs all the way around and then we’re going to be adding the stripped wood in all the corners there we go Covered it up and then they jut two out here so that it’ll be even with the um the slabs Then as we’re coming around here you can see that i clearly forgot to put a row of slabs just go ahead and include those i’ll add them in later but uh go ahead and put them in now and now i’m going to put the dark oak buttons around so that it looks A little more solid on every one of these that’s jutting out and there you go here’s where i noticed put it now we’ll remove the yellow part and put in upside down cobblestone stairs all the way across there and on all three sides actually now it’s upside down stone brick stairs Five and cap them off at the ends and we’re gonna do that all the way around as well after that it gets real finicky it’s gonna be a lot of switching up and changing with blocks i use so just go ahead and follow along with what i’m Doing you’re probably going to need to pause a lot if it’s just too tough either do a simple roof or i will have it available on my patreon for download so you can just check it out there so just follow with what i’m doing and I’ll leave you to it i’ll be back when it’s time for the water elevator please leave a comment let me know how it goes good luck and thank you so much for watching please subscribe if you are not subscribed it helps me out a lot or at Least drop a like on this video i would very much appreciate it thanks guys i’ll see you in a bit Do So [Applause] [Applause] [Applause] So So So So So So Okay so here we are inside the base and uh now we need to build the water elevator so he’s gonna go there’s no other way up right now you can either build a really tall ladder or you can do this method and it’s gonna be on the outer edges uh All along the right right next to that uh chiseled stone uh it’s gonna go all the way up so first what you gotta do is uh knock out these bottom corners that’s where you’re gonna put your magma and your soul sand but for now we’re gonna fill it with Dirt and we’re gonna go all the way up there we go i’m done that was easy okay uh all the way to the top with both of them because uh what we’re gonna put next is these trapdoors and you’re not gonna be able to place them on water so Yes but these two on the sides right here uh that will actually block the front uh but it’ll give you enough room to step out of it or step into it when you’re using the elevator and then then above that we’re going to start placing these and we’re going to go all The way up on both sides not the inside just the front on both there you go and i’m all done and next what we’re going to do is we’re going to put a couple more here there’s one there and one on that side and then uh to block the inside on the Bottom part and to show you easily which way is up and down i’m going to put some drip stone so the one the right is going to be up and the one on the left is going to be down so i’m going to go ahead and put a drip stone There we go one two that’ll block the whole thing here you’ve got a squat to be able to do that uh so just crouch uh one two there that’ll show you easily that’s down and that’s up next we gotta protect the inside if you don’t put something there the water is All just gonna spill out into the middle i like to keep it as open and simple as possible so i’m just using ladders and i’m going to go all the way up on the inside on both sides boom just like that all right so we’ve got it going all the Way up and all the way down i think now we’re ready to put in the water so we’re gonna knock out this dirt here and we’re gonna put in the magma and the soul sand magma is on the left and then soul sand is on the right if you don’t know soul Sand pushes you up and magma will push you down but you have to do some very specific things to make that work and the next step is to take out all of the dirt and replace it with water and dig dig dig oh hey i’m done all Right so um those are emptied out then you’re just gonna have to go to the top and drop in buckets of water on both sides and if you did it right it should just go all the way down without any spills any overflow it should stop right there perfect okay Yeah those two work great so next we’re gonna have to use kelp you’re gonna go in and build kelp up all the way from the bottom to the top and when you get up there just break it all back all the way back down and you’ll see what happens right when i Bust out this last one it’s going to shoot me up There we go rocket it’s awesome i love it now you’ll do the same on the other side but unfortunately you can’t plant kelp on magma so you’ll probably have to knock this out and uh i just put some dirt in there that’ll work and then Build up the kelp all the way to the top just like before then just break it all break that dirt and change it with the magma and uh when you’re back at the top you’ll see it’ll just suck you right down it takes just a few seconds And you’re done you will not drown okay it’s cool tested it out and there you have it it’s all done you can decorate it however you like i’m gonna go ahead and decorate it the way that i did so just so you can see it just in case you like And boom i’m done there we go last piece okay it’s just a bunch of books in the middle stacks of five with lanterns on top but that’s it you’re all done alright that was it for part one stay tuned for part two that’s gonna be the snake part of it thanks for watching Take care Video Information
This video, titled ‘Snake Tower tutorial | How to build a Serpent Wizard Tower in Minecraft’, was uploaded by Pox Blox on 2022-06-11 17:45:13. It has garnered 16440 views and 583 likes. The duration of the video is 00:28:15 or 1695 seconds.
🧙♂️🪄A wizard’s spell has gone horribly wrong. A snake slithered into the casting circle and it rapidly grew, becoming gigantic, bursting through the top of the tower and escaping. The wizard used the last of his magic to freeze the snake in time…
Here’s part one of the Snake Tower build – this one is the tower itself. Part 2 will be the snake.
⚠️ Once you get to part 2, the snake head/entrance is pretty easy, but the snake body will be harder to follow. It will take some patience. Take your time and you’ll be fine. ⚠️
💾 Download now: https://www.patreon.com/poxblox 💾
❤️ ▼Subscribe▼ 👍 https://www.youtube.com/PoxBlox?sub_confirmation=1
TIMESTAMP 0:00 Cinematics 0:50 Tutorial Start 6:03 Top Rooms / Roof 23:50 Water Elevator
=====================================================
Minecraft build 1.17 Shaders: BSL
===================================================== #Minecraft #Snake #Serpent #tutorial #wizard #tower #wizardtower #fantasy #minecraftbuilds #minecraftbuilding #minecraftbuild #poxblox