Transform Your Minecraft Experience with Shaders and Texture Packs
Are you tired of the same old Minecraft look and want to give it a fresh, new appearance? With the help of shaders and texture packs, you can transform your Minecraft world to look just like the trailers. It’s a simple and quick process that will breathe new life into your gaming experience.

Get the Necessary Downloads
First things first, you’ll need to download the necessary files to get started. The two key components you’ll need are shaders and a texture pack. Here are the links to the downloads:
Installing Shaders and Texture Packs
Once you have the files downloaded, it’s time to install them in your Minecraft game. First, open the Minecraft launcher and navigate to the ‘Options’ menu. From there, go to ‘Video Settings’ and select ‘Shaders’. If you haven’t installed shaders before, you’ll need to click on ‘Shaders Folder’ and drag the shader file into the folder. Then, select the shader in the game to apply it.
For the texture pack, go to ‘Options’ and then ‘Resource Packs’. Open the folder where the texture pack file is located and drag it into the folder. Then, select the texture pack in the game to apply it.
Enjoy Your Transformed Minecraft World
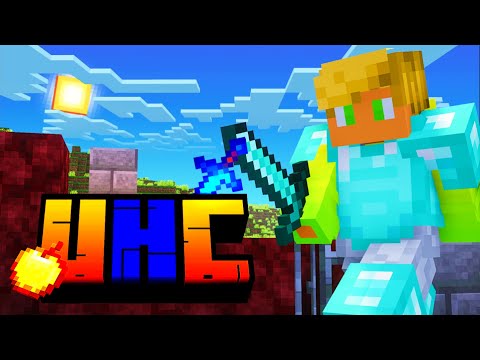
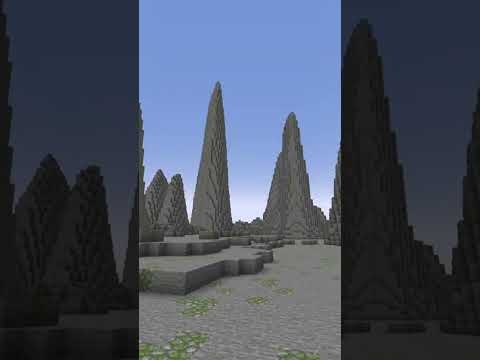
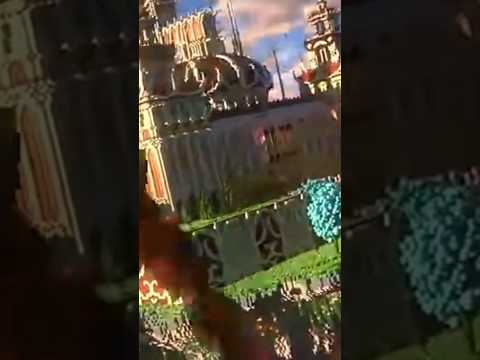
Once you’ve installed the shaders and texture pack, you’ll notice a dramatic change in the appearance of your Minecraft world. The lighting, textures, and overall ambiance will be enhanced, giving you a fresh perspective on the game. You’ll see the same elements from the trailers, such as minerals, villagers, villages, and even changes in the sky.
With just a few simple steps, you can elevate your Minecraft experience and see the game in a whole new light. If you found this guide helpful, don’t forget to subscribe, like the video, and leave a comment to let us know how your transformed Minecraft world looks!