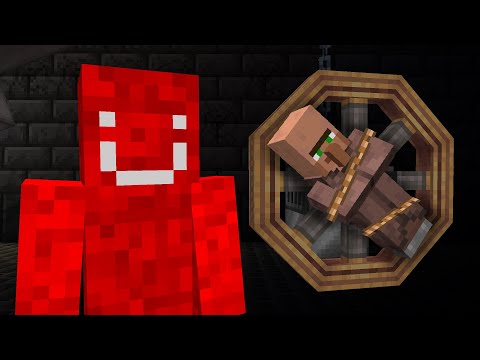
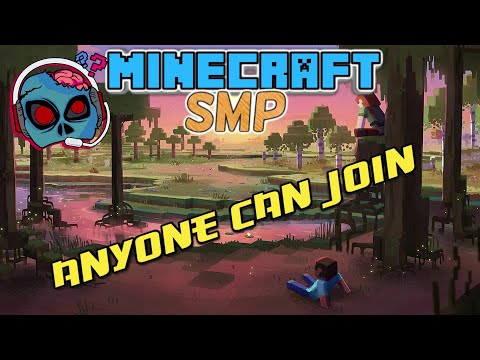
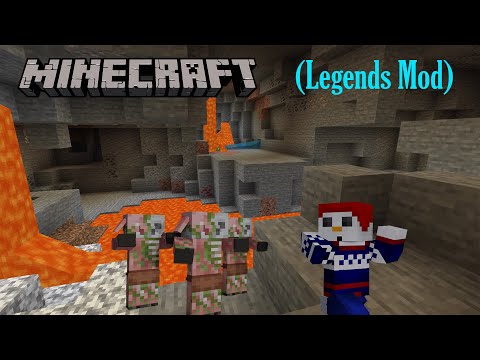
All right so today we’re going to try to make a realistic warden in photoshop and who knows we might even animate him spoiler alert yeah we’re going to animate him alright so i guess we can start with just opening up a new document and we can go ahead and rotate that 90 degrees And there we go all right so we got our canvas ready at least i have gathered a bunch of images here that i plan on using to create our little warden and the first one that really sticks out is the hulk why do i have the hulk you Might be asking yourself well i was planning on using the hulk as sort of a reference for the body because if we take a look here real quick the body size of the whole candy warden isn’t all that different really if you really look at it i mean sure the legs are supposed To be shorter the arm’s supposed to be longer and the head is supposed to be bigger but the proportions are almost all there so i will be using the hulk as a little body reference so let’s begin with cutting out the hulk from the background now usually the correct way To do this would be using the pen tool but we’re lazy around here all right there we go so we got the whole cut out from the background so we could actually just remove that layer and then we could just do our best and see if we can get Oh my god that looks ridiculous and the arm’s supposed to be longer there we go i mean it’s already looking so ridiculous i think i might actually just keep that arm just like that there we go all right so that looks pretty decent so far i mean i mean it’s the hulk alright So now what let’s just make that black and white for now since the green color is definitely going to be confusing us so let’s see where do we want to begin i think i want to start out with the warden’s head now the warden’s mouth is This weird looking open mouth thing so i found this i found this picture of a fish and i honestly think the mouse are really not that different i mean look at those mouths they’re identical so there we go let’s grab that little fizzy boy let’s Plop them in there there we go hi so let’s just start cutting out this beautiful little mouth so pretty right there we go so we got the mouth cut out perfect all right so let’s make a quick little copy of that so we got ourselves a backup and then i guess let’s just Place that on the hulk perfect uh all right just to stop us from getting distracted i’m not actually going to be using the head of the hulk so i’m just gonna remove that because that is just distracting me way too much there we go now let’s now this mouth does look quite Good to begin with but we do need to tweak it just a little bit because the warden is supposed to be a sad boy and this guy isn’t really sad he’s more like very surprised there we go okay so that looks pretty decent i think all right so Next up i want to take this little moss texture see if we can replicate that little blue part on the top of his head the tippy top of his head so let’s just quickly select that get the edge detection all the way up all right so we Got some mouse right here beautiful now let’s see if we can kind of warp it into the shape of a head all right so i got all these little branches that i figured i would use for the little antennas on his head so let’s maybe start with this One right here now we should be able to select the whole thing and then just deselect the whites seems like it missed a few spots right here there we go let’s just select those all right there we go so we got the brands cut out and then Let’s see if we can make it a little bit more interesting and make it wiggle around a little bit Okay so there we go we got the prances all set up and before we do anything else let’s just quickly group all the elements that are on the head just name that head because it’s a head i think we could already start painting the dude that color right there seems to be Pretty on point maybe a little bluer and the mouth definitely needs to be darker same for these sticks all right there we go so everything sort of matches up now we still haven’t started on these shading so don’t you worry even though everything is looking completely flat Right now it’s a process now let’s hear i guess the next thing we should be doing is create the little bony parts on his arms right there now in my previous video i did make the warden in spore and in that video i used these curly horns To wrap around the arm and i actually think that looked so good that i actually want to do that again here today so let’s just quickly grab those horns there we go now we can split that file right there so we got two horns fantastic okay now i guess let’s just Start sculpting this dude All right so that is sort of what i was going for but i do think that the horns right here are just a little bit too simple so let’s add just the ever so slightest detail to every single one of them just make them stick out just a Little bit just a little bit right there just so that it’s a little bit more uneven right there on the shoulder i think that is precisely what this image needs and just like that there is way more character on the shoulder just by adding a little nipple to every single One of those horns alright so that took a very long time and now i gotta do the same thing on the other arm so let’s see if we can actually just cheat and take this little piece rotate it and maybe we can get away with just placing it right There oh i think we can oh that’s going to save so much time oh i love it when that happens i mean we can of course adjust them just a little bit then let’s quickly just make a little mask right here around the chest just so that the Bones are only visible where the chest isn’t sure okay that explanation is great alright so far we’ve gotten pretty far with our character right here alright so the next part that i want to tackle is the little chest piece with the soles and the and the yandy ribcages And stuff and the things so in my spore video i foolishly claimed that this was some sort of an energy core but silly me of course those are supposed to be little soul pieces right there those are little souls screaming out in terror so the warden just became like a thousand Times creepier for me okay sure souls why not alright so i got this whale rip right here that i figured we could use i guess first off let’s just remove this little stand it’s standing on just like that there we go and it’s gone magic wow honestly that technology will never Cease to amaze me you can just remove things from a photo like that that easy all right there we go we got the little bone ready all right so let’s start building his little rib cage then so we got most of the important parts ready so I guess now is the time that we actually start making him look good or at least decent okay well this is going to take a long time this is going to take a hell of a long time let’s go Do all right so i’ve gone ahead and done some real real basic shading on our guy and i just realized that i completely forgot to add his little hands so these are a couple of mole hands because i figured moles are blind and the warden is blind so they should have the same Hands i don’t know why i don’t i don’t know how that sounded logical to me at the time but hey i got these bowlines and i’m gonna use them and there’s nothing you can do to stop me all right so those hands are kind of on there they look Absolutely awful right now though ah maybe i made the wrong choice on the hands let’s see if we can actually fix those up before we make any final adjustments okay you know what those hands are fine for now now let’s go back to the body part All right so now it’s time for the little souls inside of his stomach i think i’m just going to make these souls myself just by doing something like this hold up let’s just make a little face right here so it says two eyes and one large mouth there we go and let’s add Some highlights and stuff alright so something like that let’s just make a quick little copy and then let’s go into liquify and just completely warp this guy just so it looks more like a creepy looking soul so we got one soul and then we could just make another copy and then Go into liquefy again and do something a little bit different this time maybe a small mouth and large eyes instead oh maybe some of them should be angry okay yes some of them should be angry and i think we only really need these two so let’s actually just remove the original And then with these two little soul thingies we can just start pasting them inside of his rib right there right so we got his little souls inside of his ribs now i want them to glow i want them to be little glowy boys so i guess let’s Start working on that let’s just select a bluish color that is a similar color as the soles alright there we go so we got the little souls in there they don’t look great just yet but don’t you worry they will maybe we’ll see now let’s start working on the head just a little Bit more alright so i added some shadows and highlights to those little horn thingies so the sticks on his head what i want to do next is to start sprucing him up with details so i got a bunch of slime textures here’s or a buns i got Three slime textures here and then i got five vine textures i really do think that he’s going to look completely different after i’ve done this hopefully if he doesn’t then i don’t know because right now i just don’t like the way that he looks but hopefully he’ll look better After we’ve added some details so let’s get right into doing that Wait a minute what are you kidding me it’s a fake png who does that why would you do that that’s not an alpha channel right there that’s that’s a full-on channel right there that’s no alpha channel it’s that’s a fake one too why are there only fake pngs why would you do that I can’t use any of those that i’ve gotten ah great okay well i guess i need to find some new things All right so there we go i added a bunch of details to his little horns or the branches or whatever we are gonna call them and already it’s looking so much better i also added some saliva inside of his mouth just to make him a little bit more Disgusting looking i think we have definitely achieved that so this is pretty much the warden now it is time to start doing the lighting All right so day two this is the second day that i am working on this now last night i really thought i was done with this piece but now that i am looking at it i just absolutely hate what i’m looking at i don’t like that at all so Here’s what i am thinking i don’t really want to jump back into photoshop to fix the issues that i see mainly because my computer just couldn’t run the document in the end there were just way too many high resolution layers for my computer to handle so in the end it was Impossible to work with so here’s what i am thinking instead what if we take everything that we have already done in photoshop and then move over to another program called adobe after effects and there we can sort of animate it just slightly alright so it took about two Minutes for photoshop to open up the document but now that we got it open i want to start splitting up all of the different layers so let’s see here so we should have everything isolated yeah all right that looks pretty decent and you know what i might actually just to make Sure that we have a little bit more things to play with i’m actually going to increase the canvas just a little bit is going to take a long time the document was already too big why did i do that why did i do that oh this is Going to take a long time one eternity later alright there we go the picture has finally been increased so the reason why i did that is just so that we get that extra little bit of brands to play with once we get into after effects now I actually want to go and separate the layers a little bit further so i think i’m actually just going to do that real quick and then i will see you guys once we get into the other program oh this is going to take forever to separate but Okie dokie alright so let’s make a new composition we’re just going for the default hd tv settings we’re just going to keep the animation at around 10 seconds that sounds good actually 10 seconds might be way too long since we are just doing a very very simple little Animation right here let’s just drag in all of the parts from the warden and let’s drop them into the composition let’s put all of them on 3d and now we can actually move around in 3d space but you can clearly see that the image is still very much a 2d image so let’s Start moving around our layers in 3d space so that we can actually get that panoramic effect that we’re after so now when we move around the camera you can kind of see that everything is a little bit displaced in 3d i might actually make the difference a little bit larger Because i can’t really notice the effect all too much and now here comes the difficult part that i actually don’t know how to do i figured i would just learn it on my way the puppet tool okay so that’s what i’m looking for the puppet tool is a very powerful tool by Just placing two little points right here i can now start animating the mouth so that is fantastic so let’s move throughout the timeline and start animating this boy All right so there we have it now if for some reason you would like to have this image i don’t know why you would i think it turned out absolutely garbage but if you would the link for both the image and the little animation we did will be In the description down below so guys i hope you guys enjoyed today’s video make sure to leave a like and subscribe if you did and i will see all of you beautiful faces in the next video have a good one guys Video Information
This video, titled ‘I made a REALISTIC Minecraft WARDEN! – Photoshop’, was uploaded by TerasHD on 2021-12-31 15:00:12. It has garnered 1420540 views and 29957 likes. The duration of the video is 00:17:17 or 1037 seconds.
TODAY we are making a realistic Warden in Photoshop and then animating him in Adobe After Effects! The Warden will be the first blind mob to be added to Minecraft. Instead of following the player normally, it uses the sculk-like sensors on its head to detect vibrations.
Warden Wallpaper: https://imgur.com/lrFw3je Warden Animation: https://youtu.be/ifGhIToyDqU
I Made THE WARDEN in SPORE: https://youtu.be/Oc0oN0u87ss
~~~~~~~~~~~~~~~~~~~~~~~~~~~ Links you want and need; – Twitter: https://twitter.com/TerasHD – Instagram: http://instagram.com/terashd ~~~~~~~~~~~~~~~~~~~~~~~~~~~~
Music:
Monkeys Spinning Monkeys by Kevin MacLeod https://incompetech.filmmusic.io/song/4071-monkeys-spinning-monkeys License: https://filmmusic.io/standard-license
Delta Origins – Golden Journeys https://youtu.be/Qk_q-GKpfUE
Kestutis K – Adrenalized https://youtu.be/DSpbZBDeq4g
Classical Trailer – Oneja